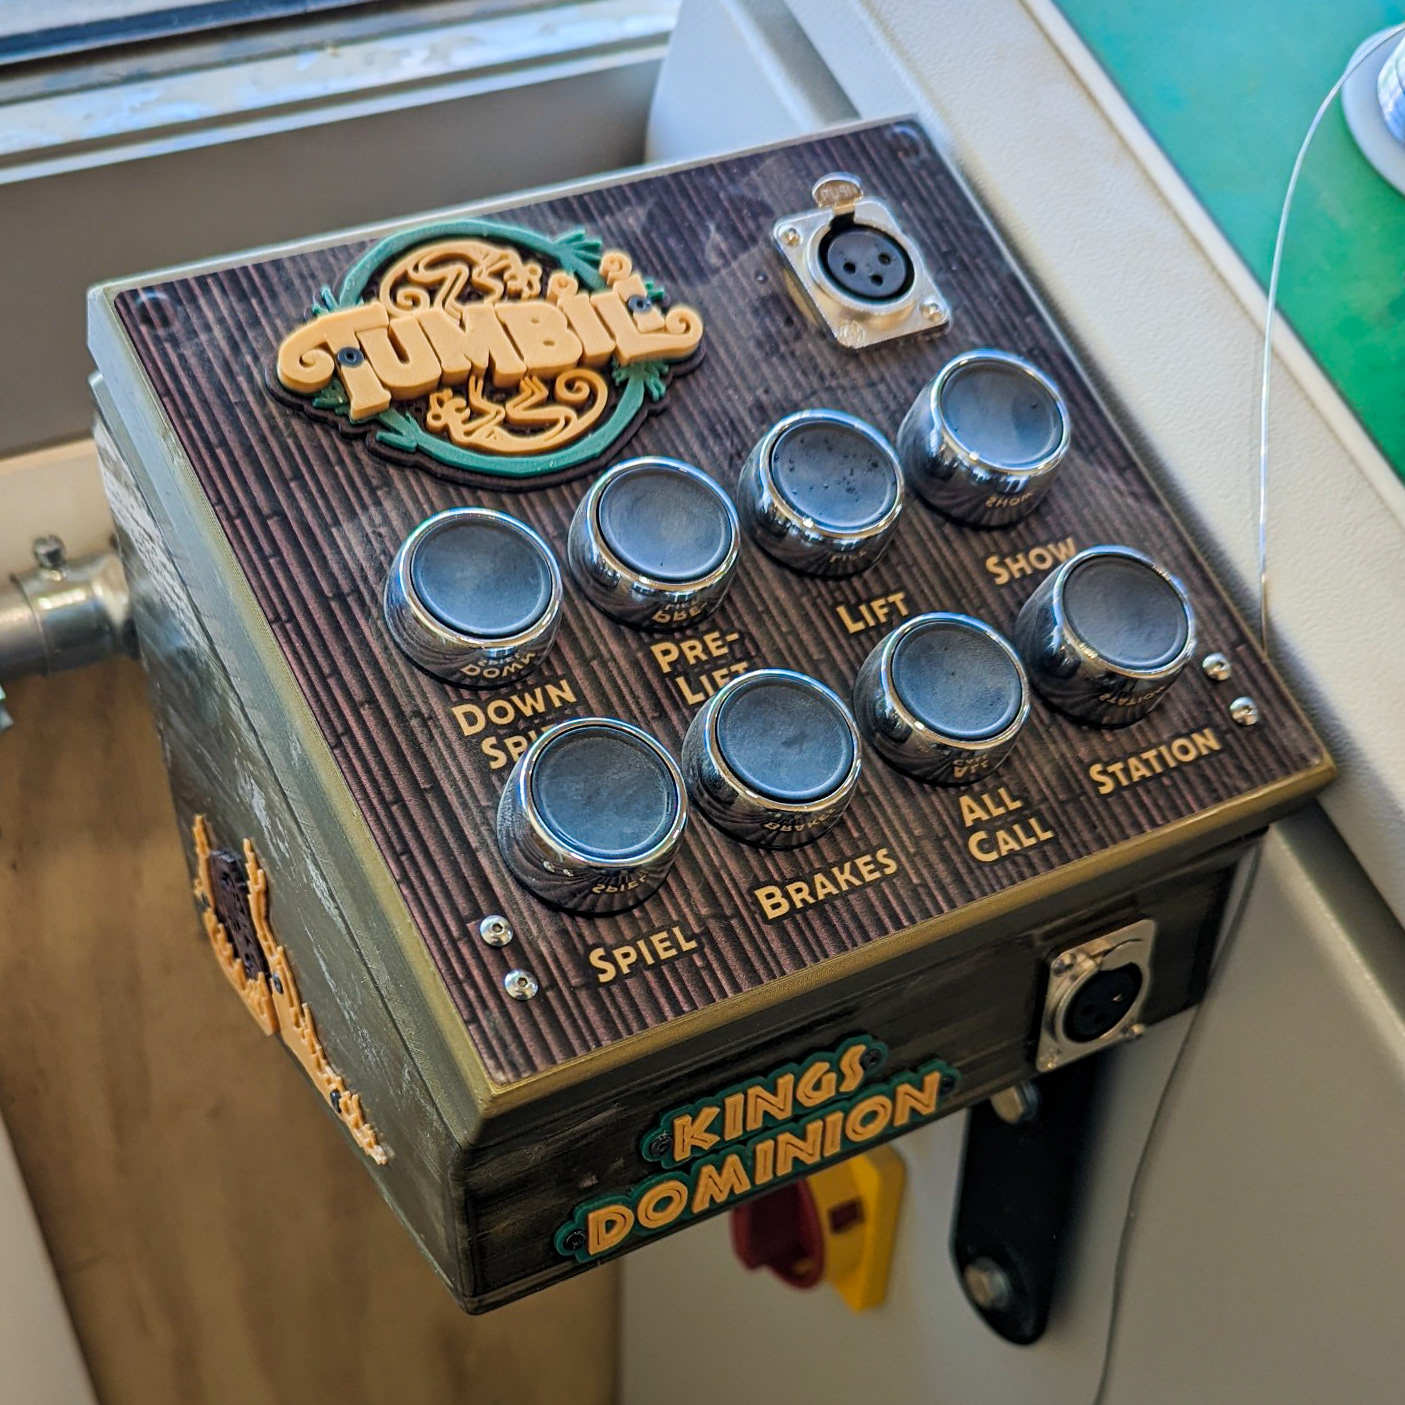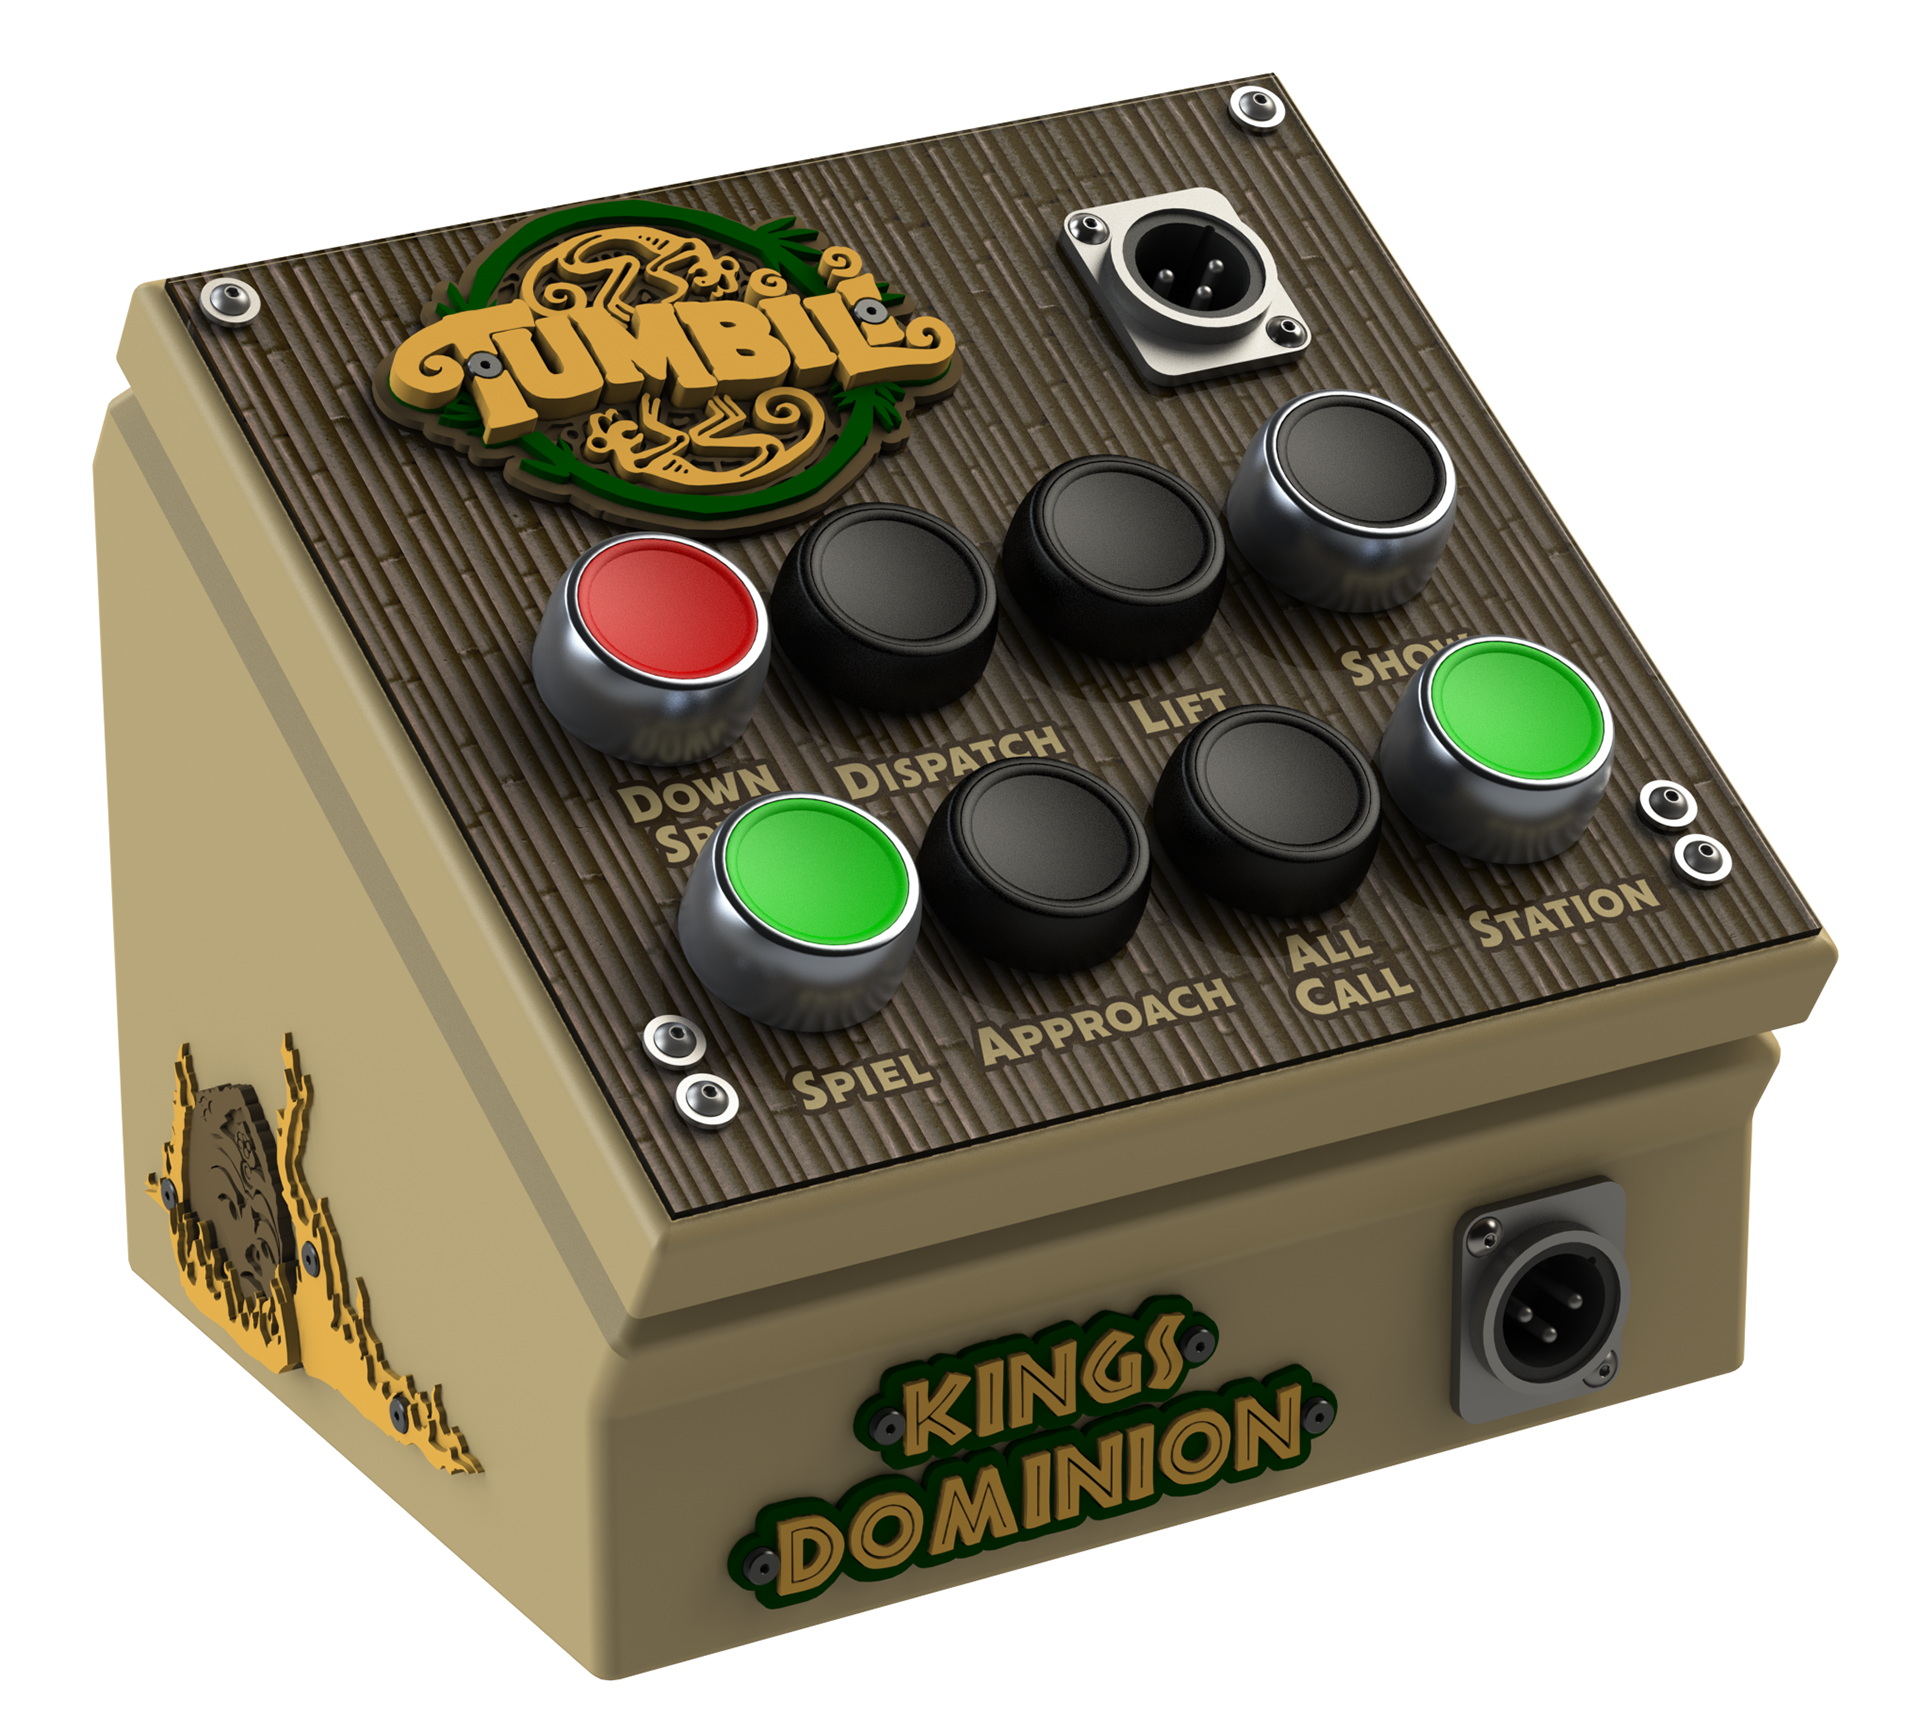
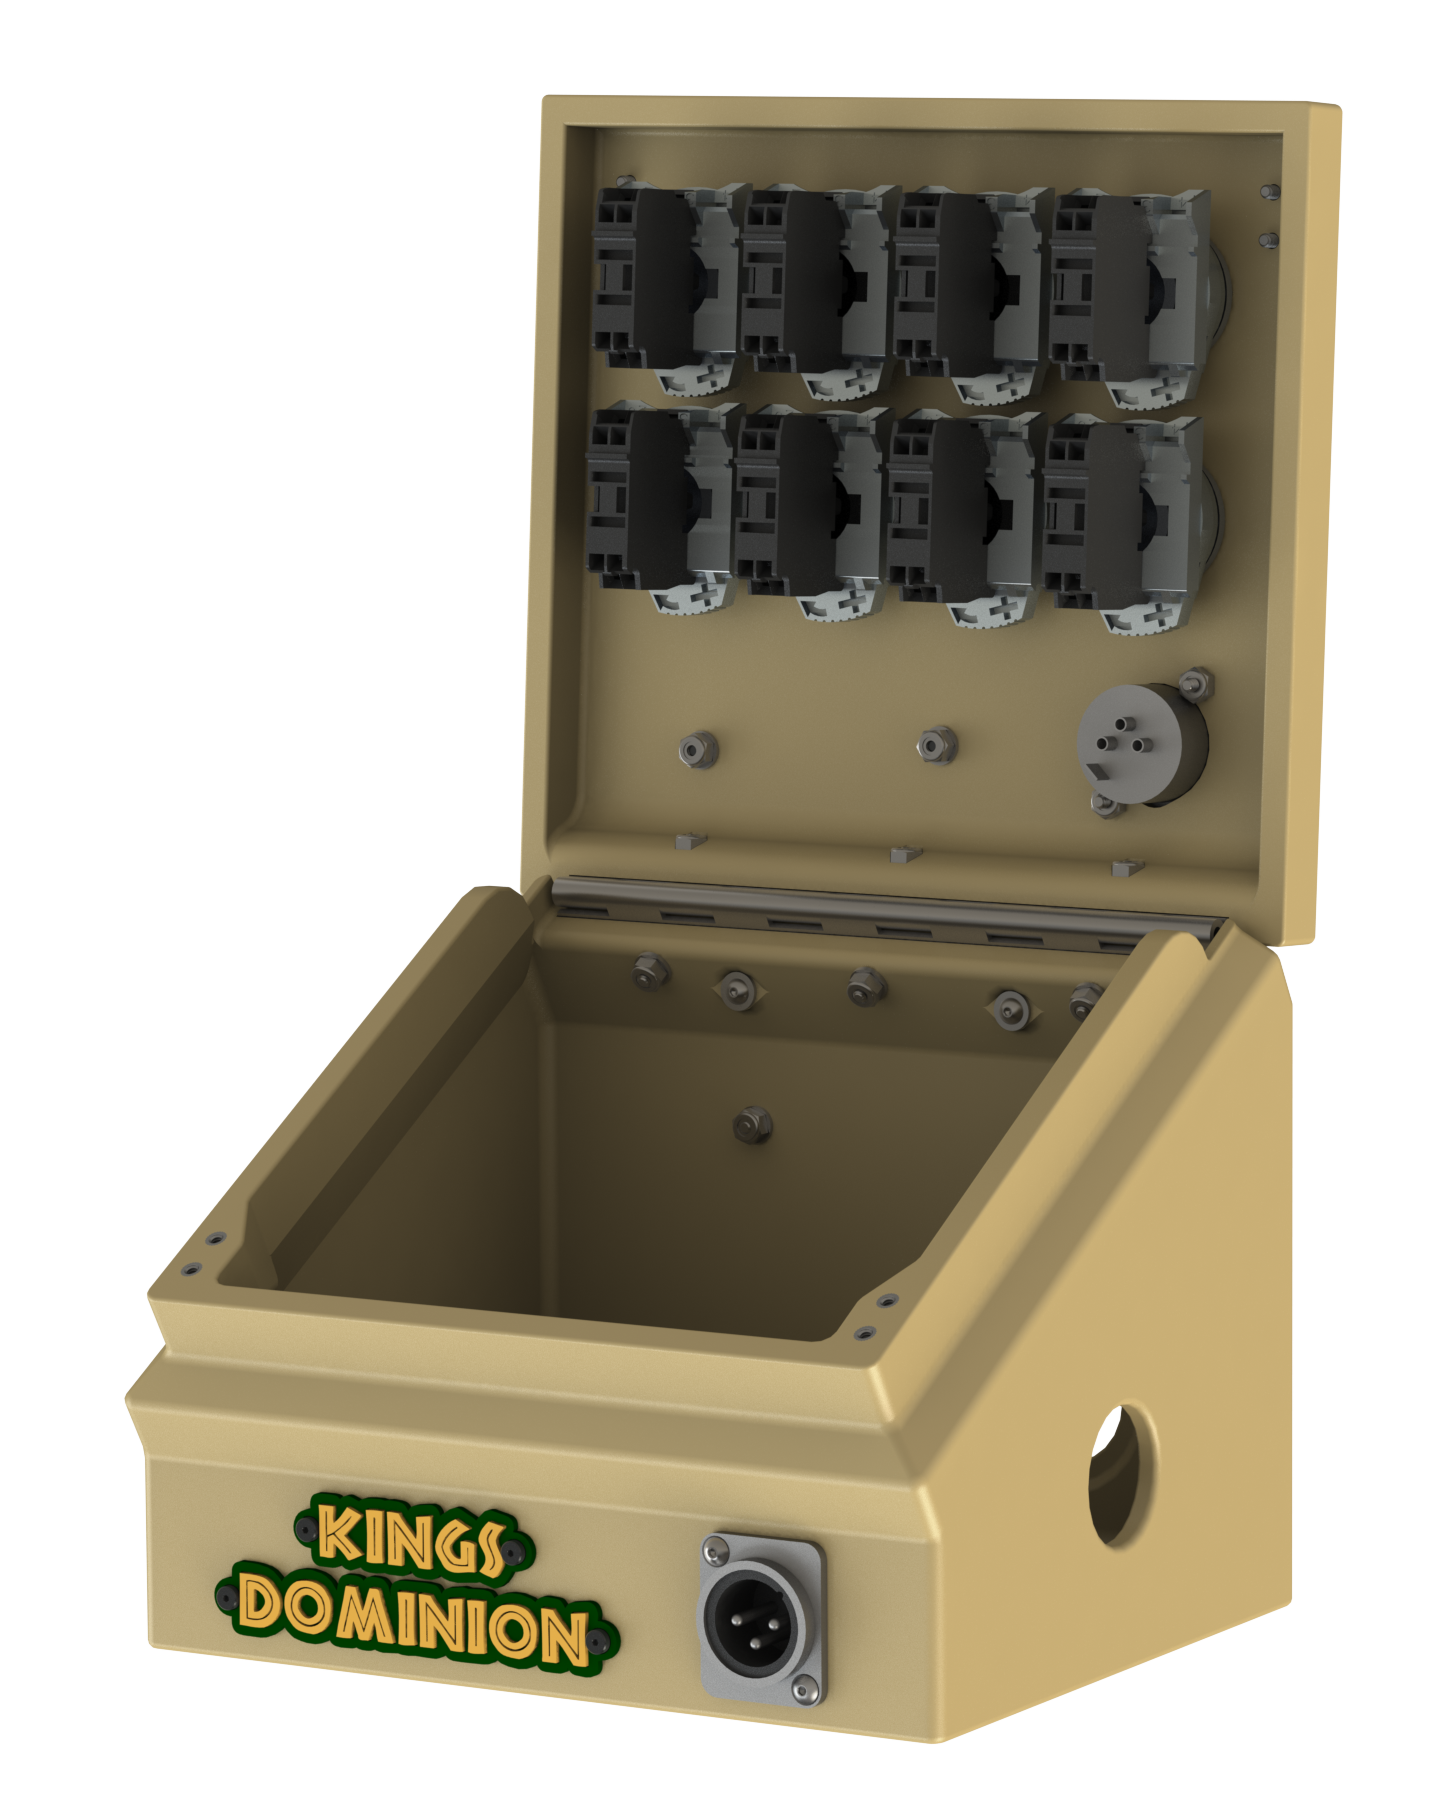
I was given the opportunity to design a custom 3D printable audio control panel enclosure, for use at the new Tumbili rollercoaster at Kings Dominion. The enclosure's geometry takes inspiration from the sloped cover consolet enclosures made by Hoffman, but with modifications to ensure printability and rigidity, as well as to interface with certain hardware. While there admittedly doesn't seem to be huge benefit to 3D printing an enclosure similar to an existing product (other than cost), the project was completed as a proof of concept to see if it would be a viable option in more niche cases where a panel enclosure couldn't simply be purchased.
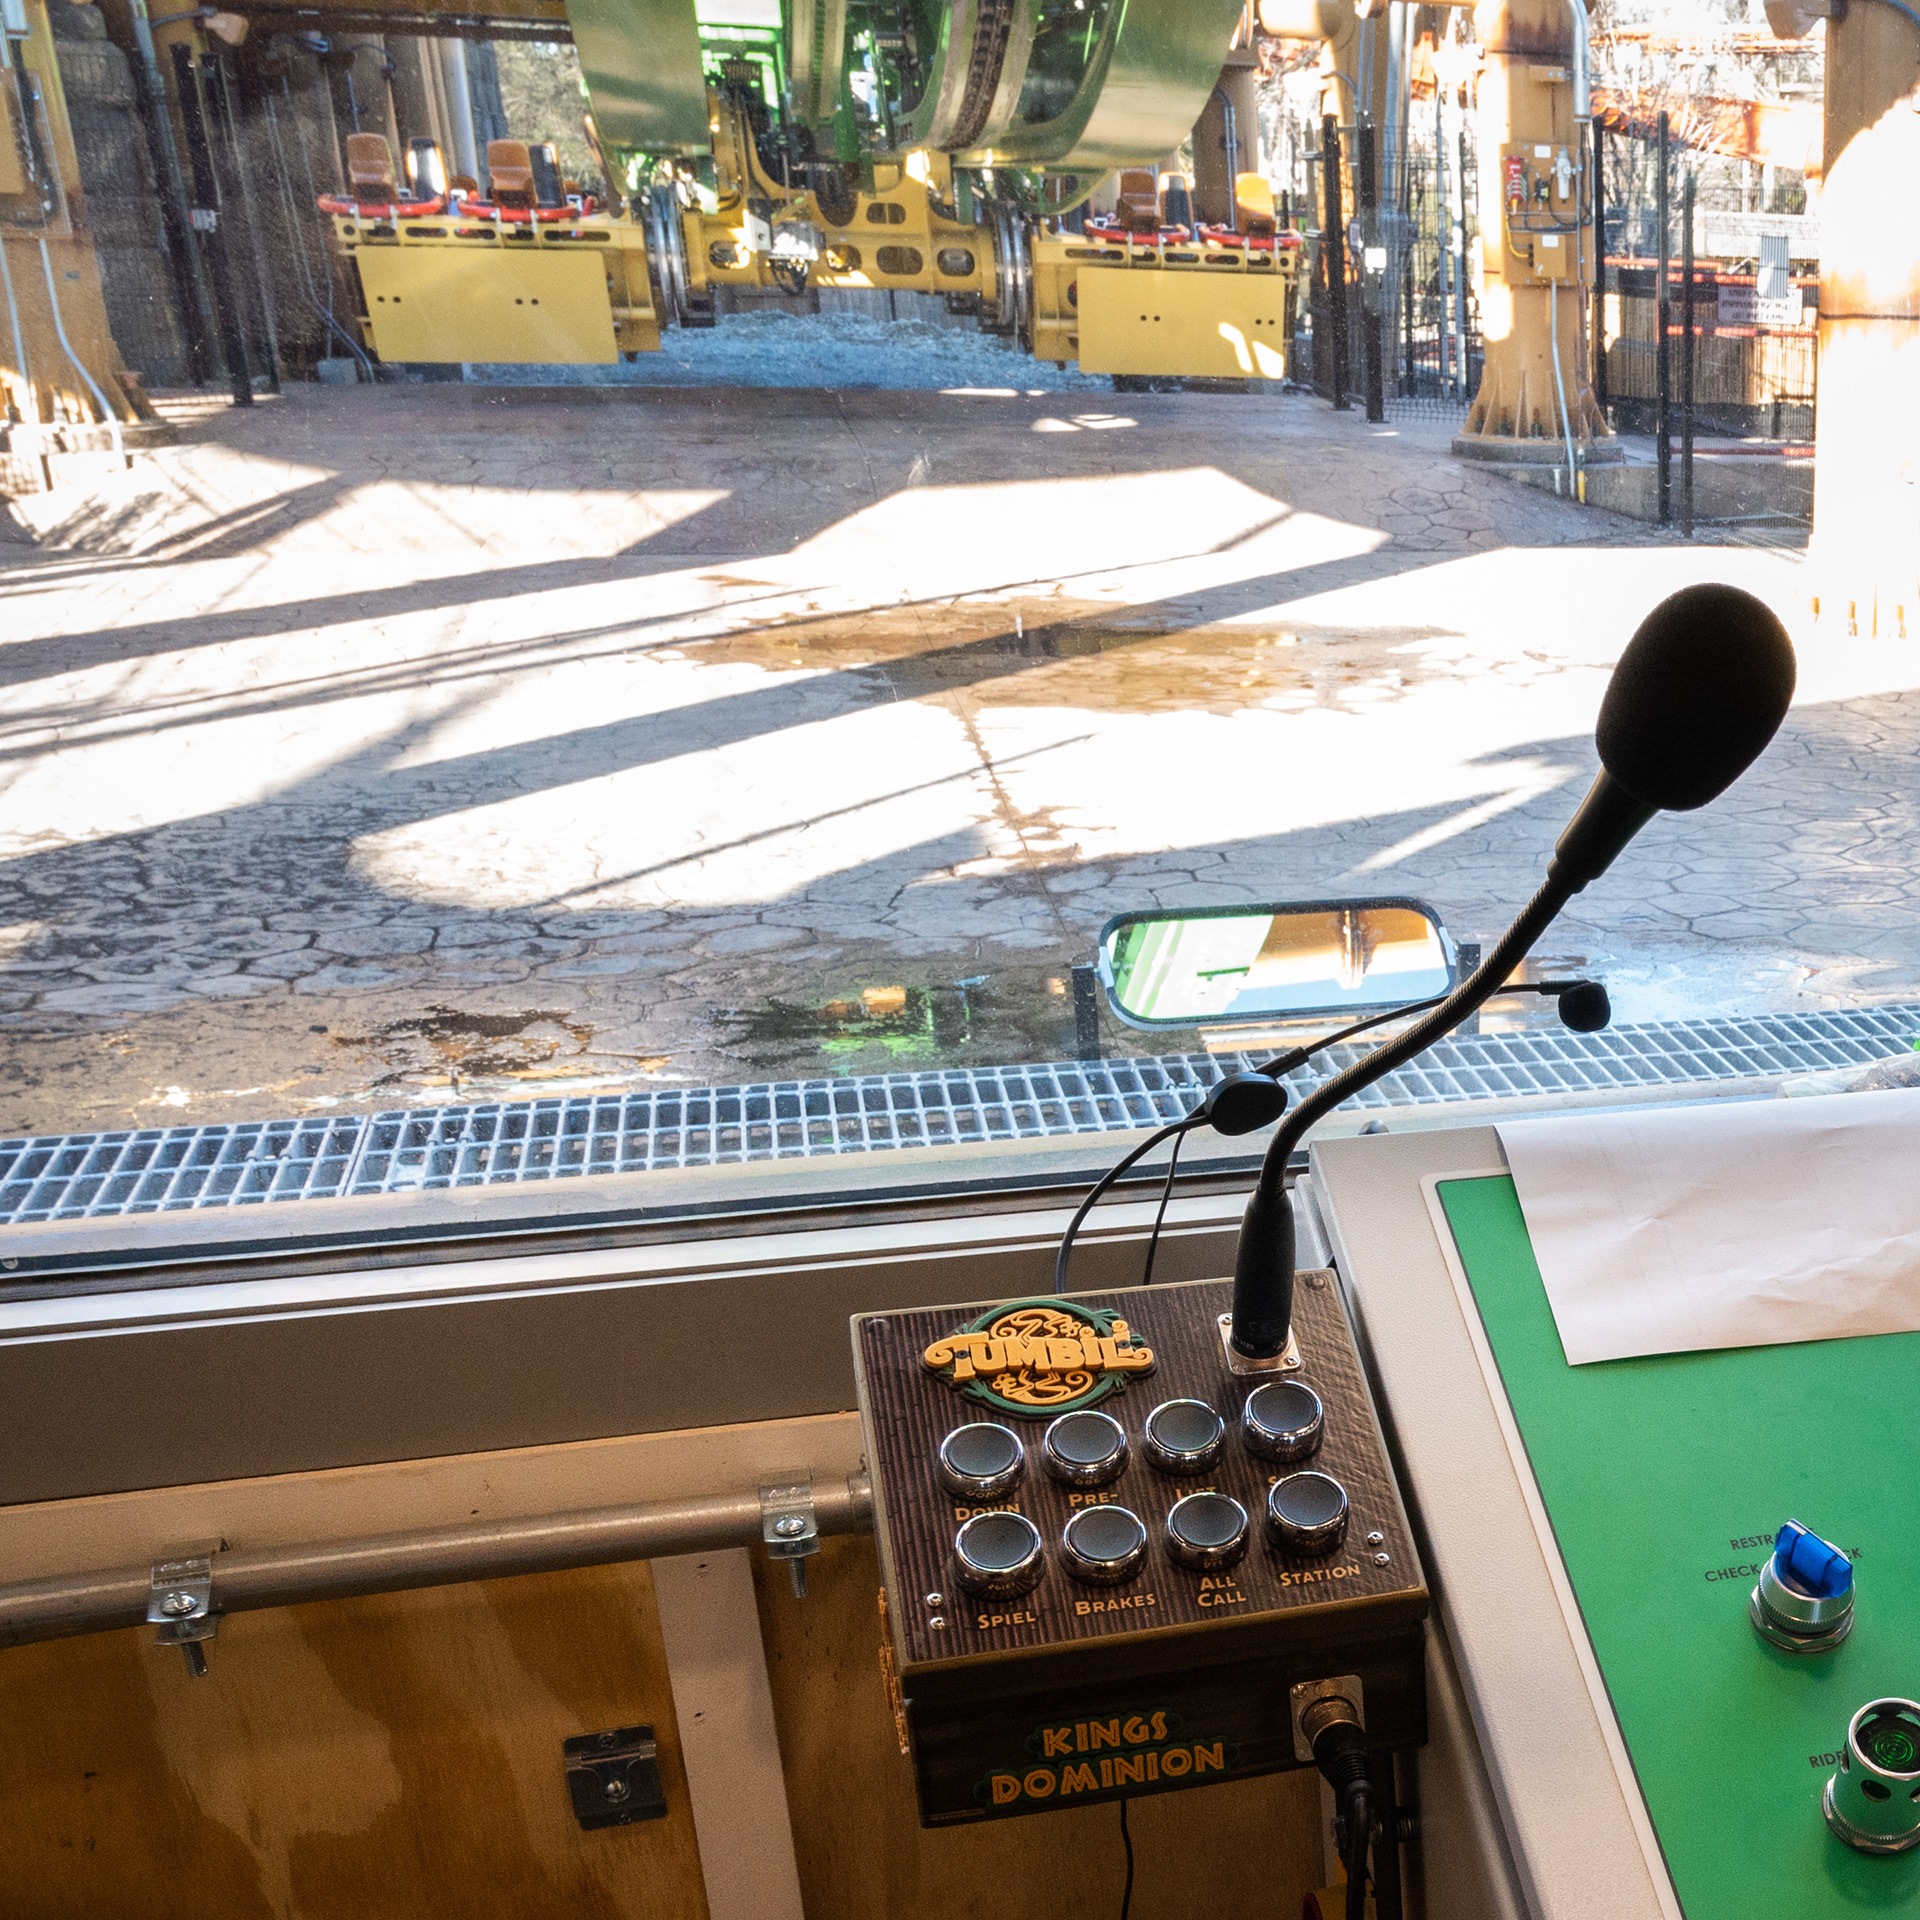
All solid models were created in SolidWorks, and printed on my personal 3D printer. All model renderings were done using SolidWorks PhotoView 360.


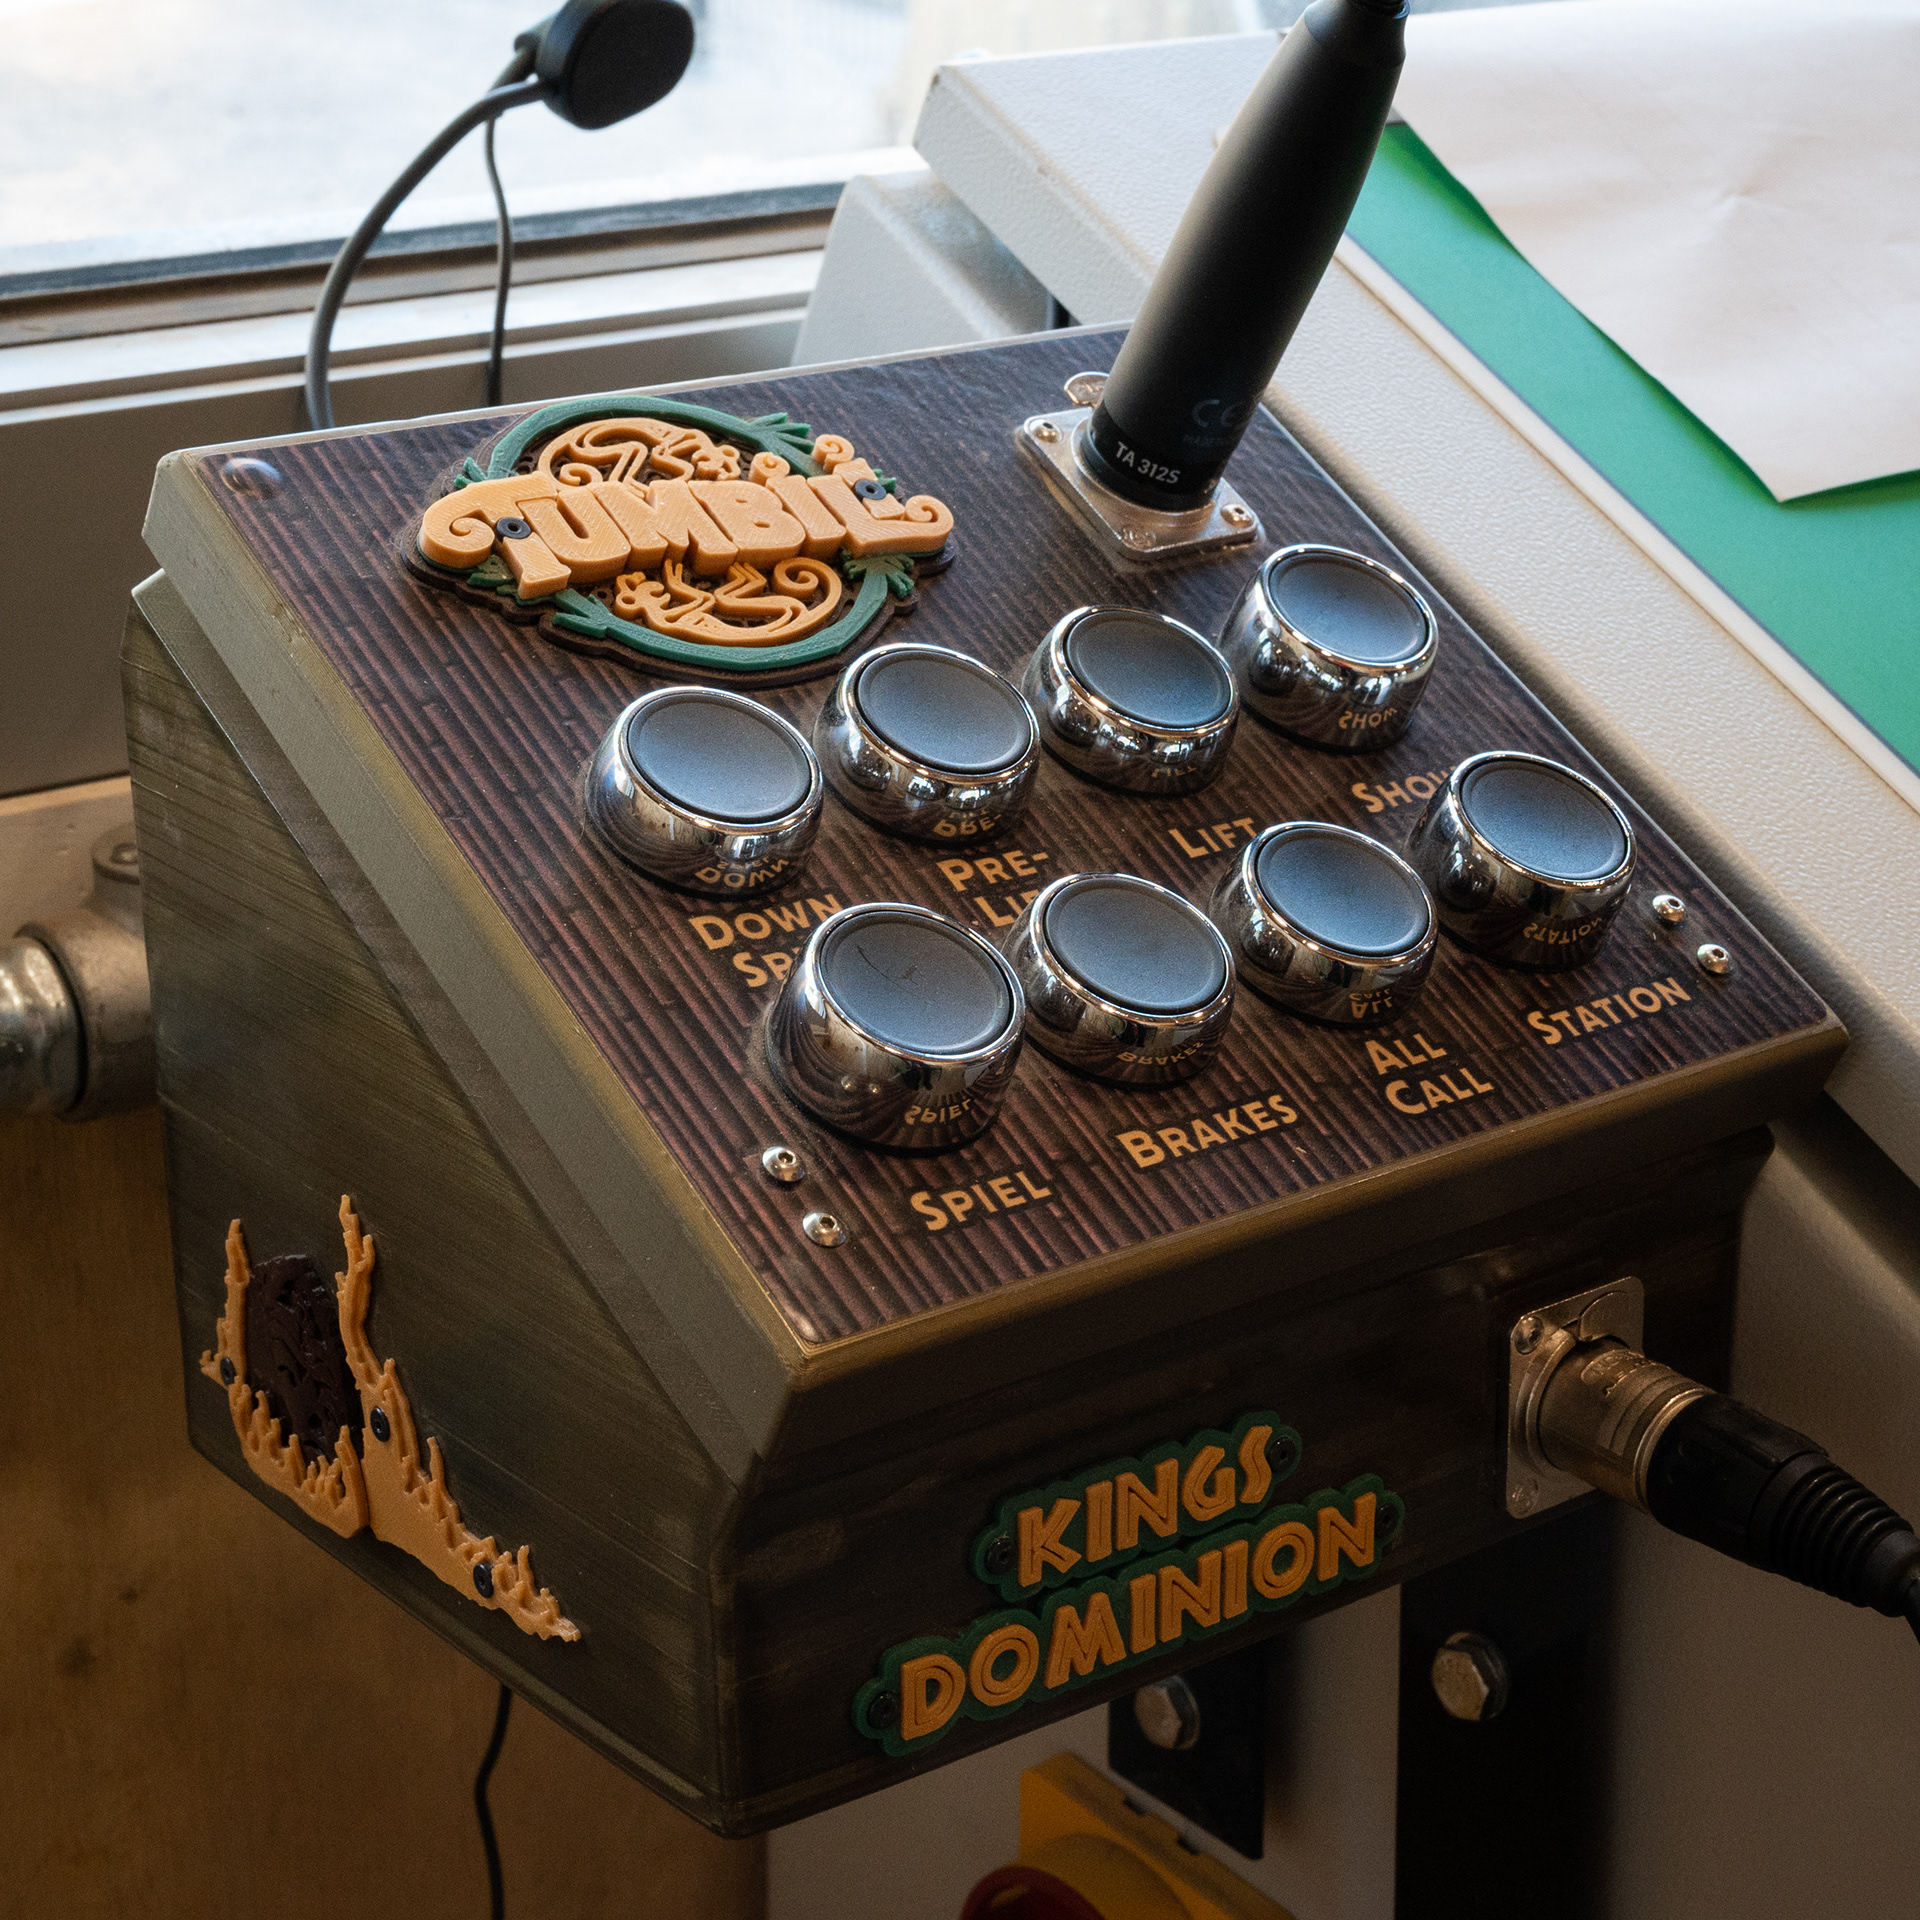
The box controls audio output throughout the various 'zones' of the ride, including the station, brakes, lift hill, and others. It utilizes momentary and alternate action 22mm push buttons from Rockwell Automation, as well as two XLR jack sockets for gooseneck and ranger microphones.
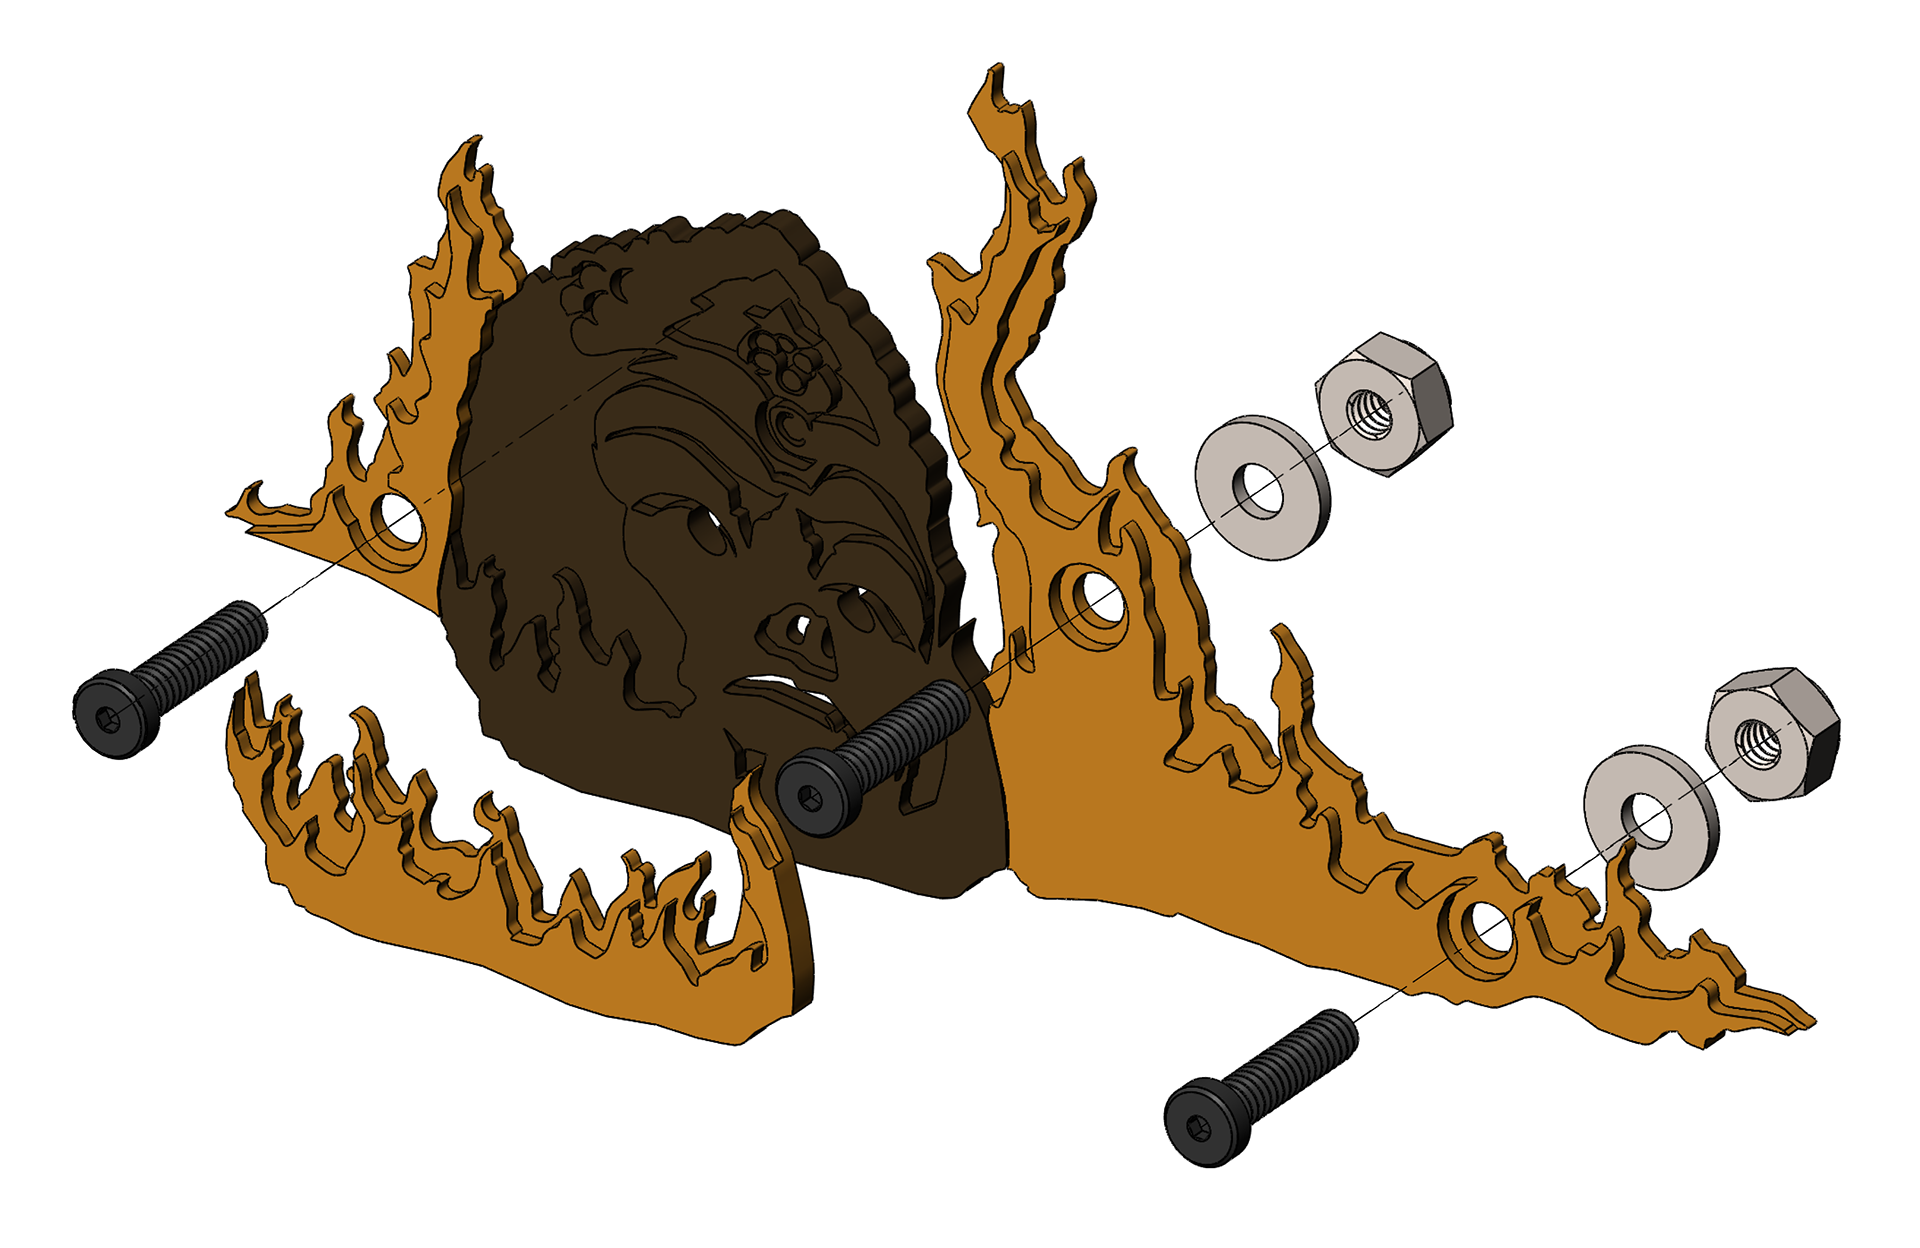
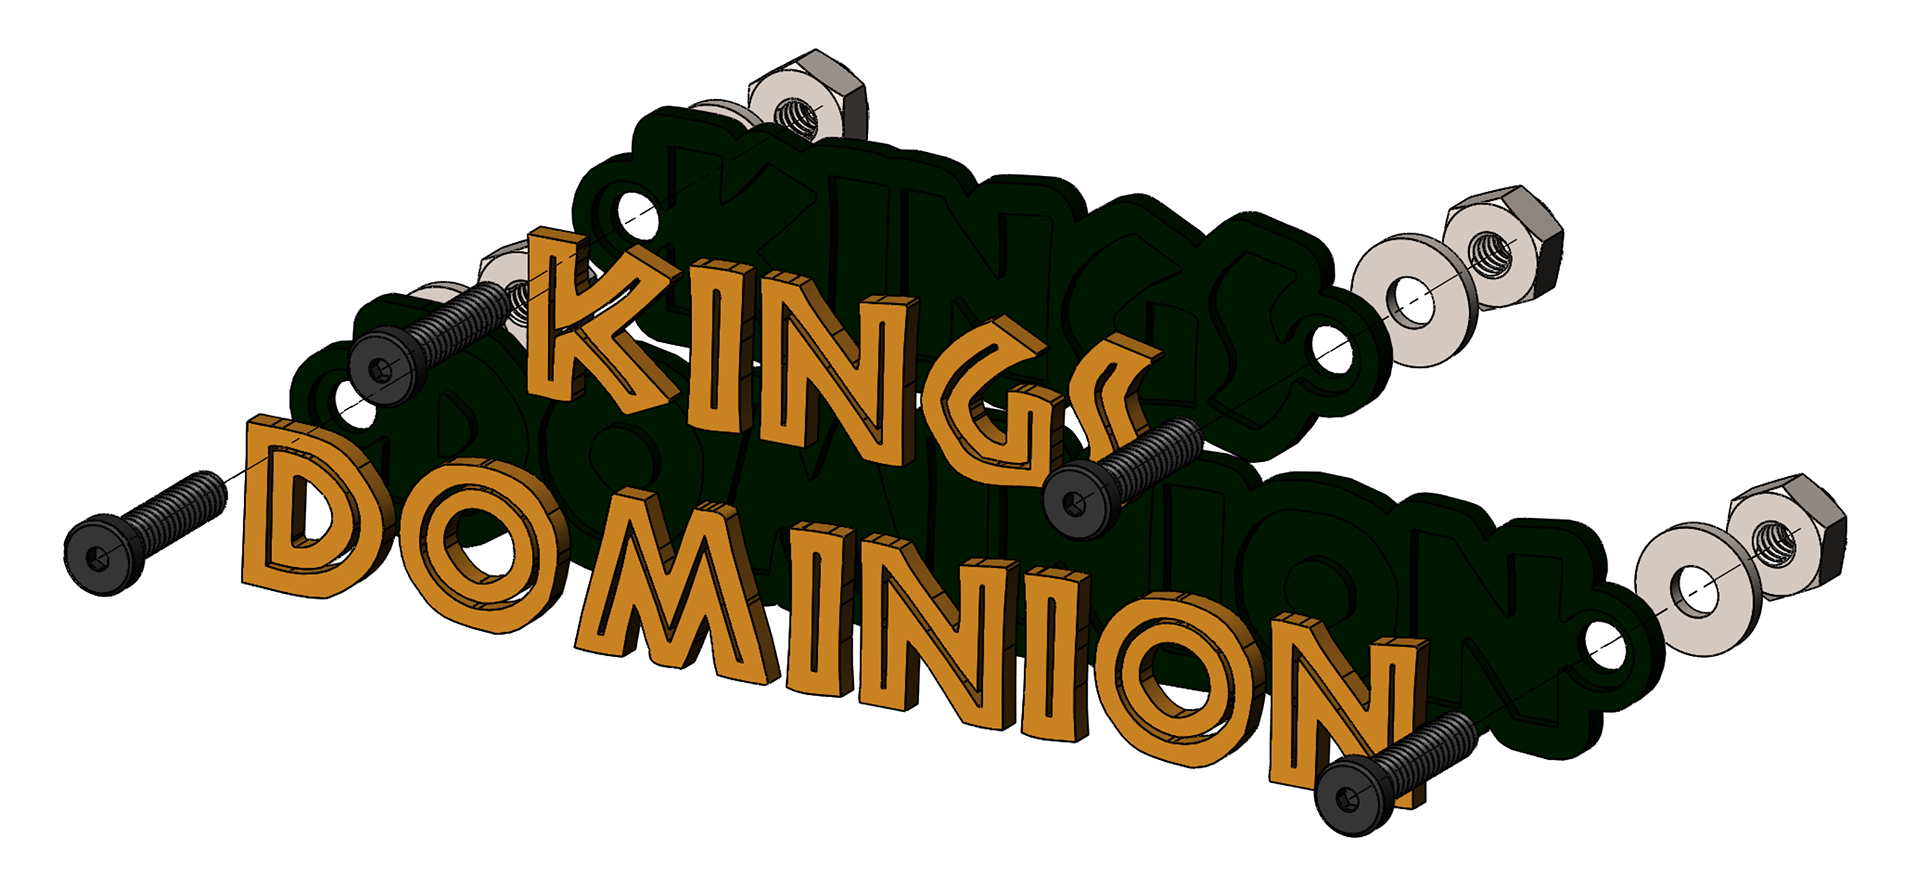
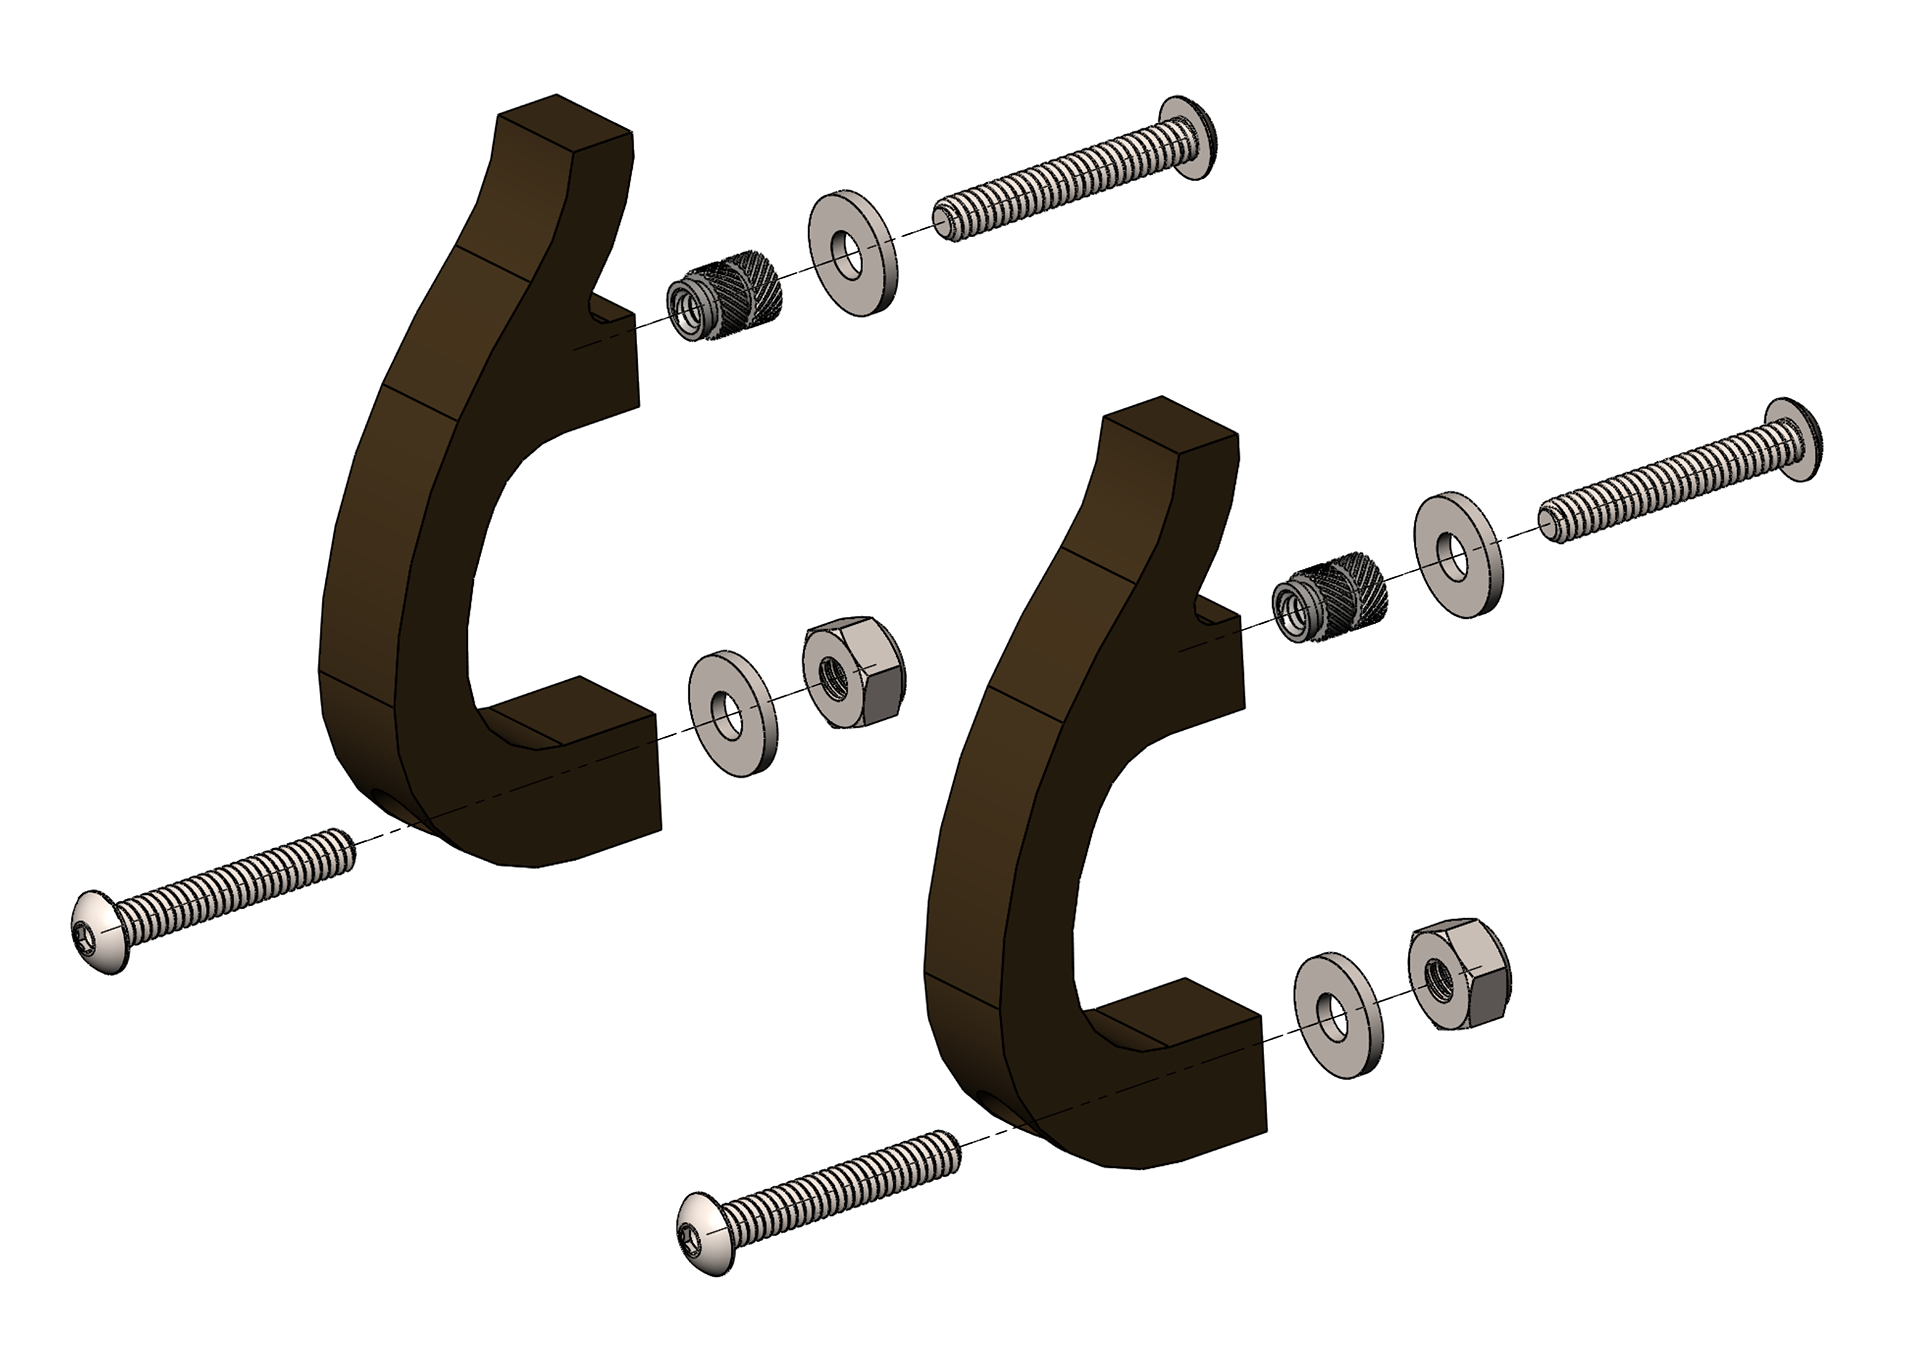
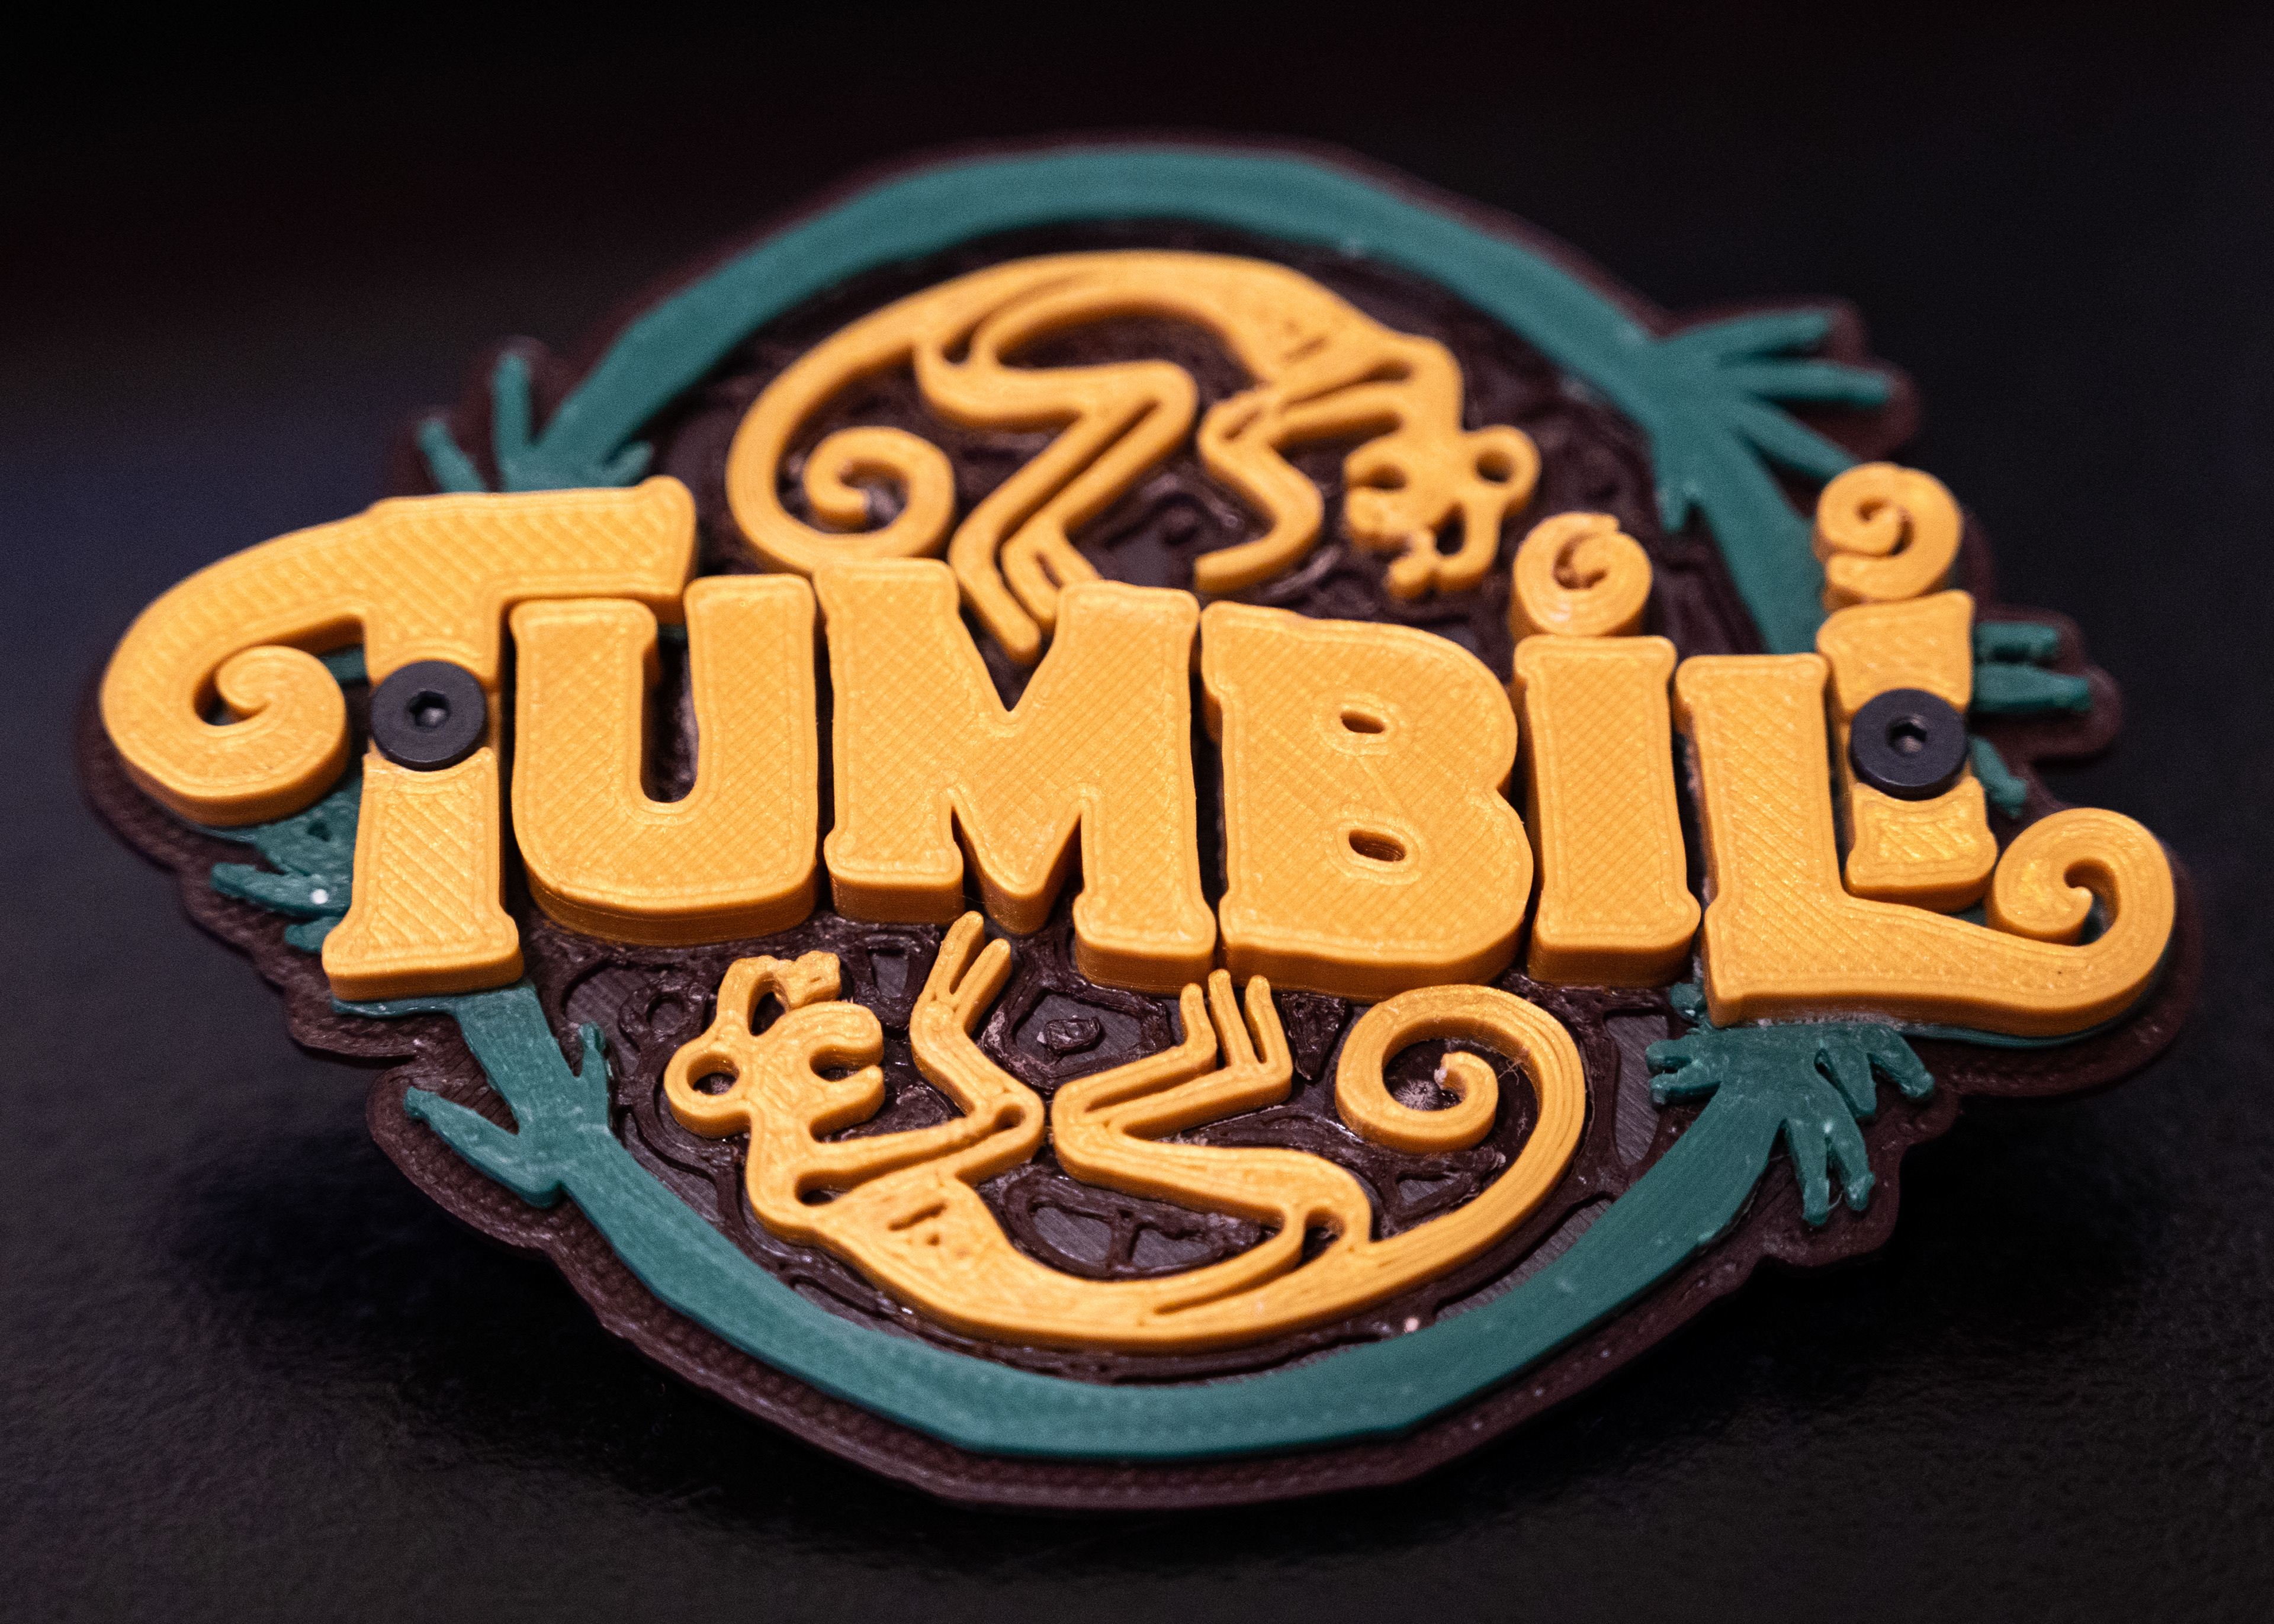
It combines functionality with multiple aesthetic touches designed to compliment Tumbili's theme of an ancient monkey temple within an archeological research facility. These features include a thoughtful color scheme, printed emblems of the park name and ride logo, as well as a reference to Tomb Raider: Firefall/The Crypt, which previously occupied the land the rollercoaster resides on. Stands are included on the back which reduce stress on the hinge mounts when opened, and are stylized to look like monkey tails. I also created the themed graphic overlay for the top plate which includes the bamboo background and button labels.
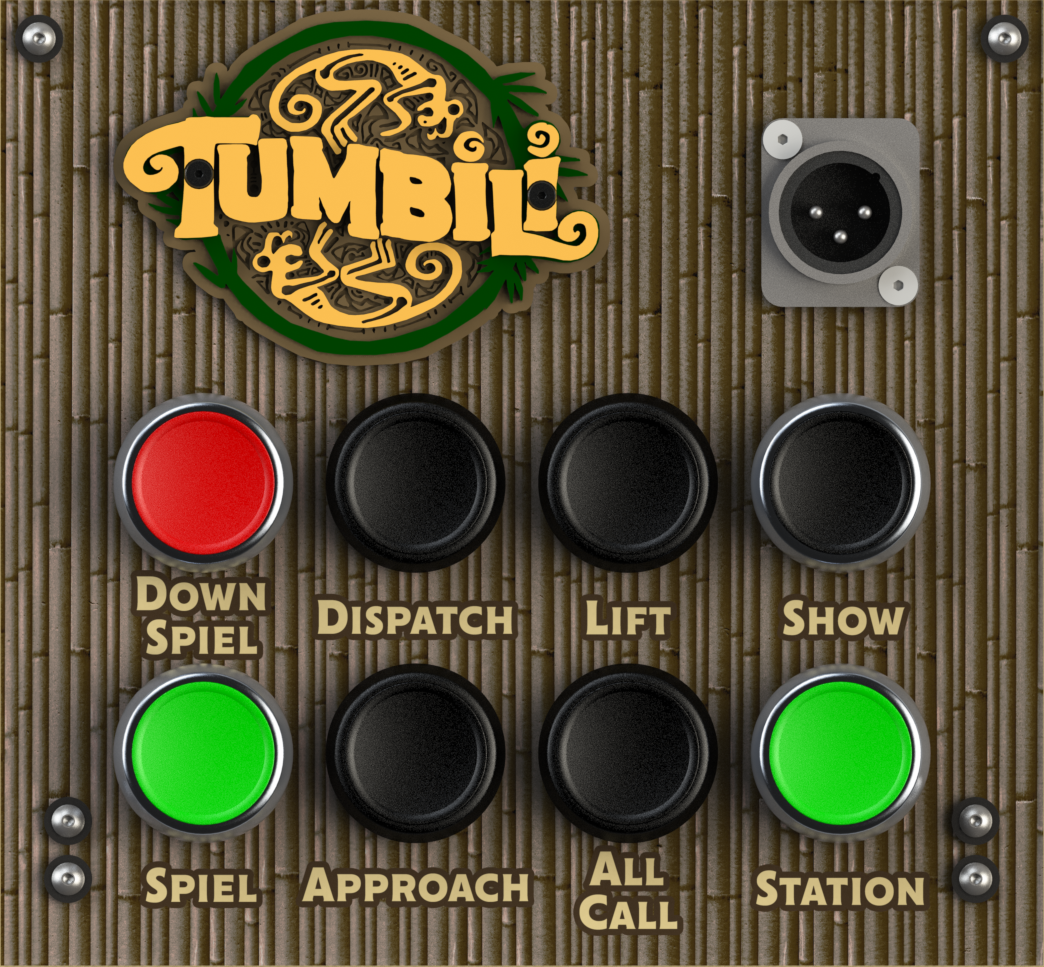
Some additional photos of the design and building process:
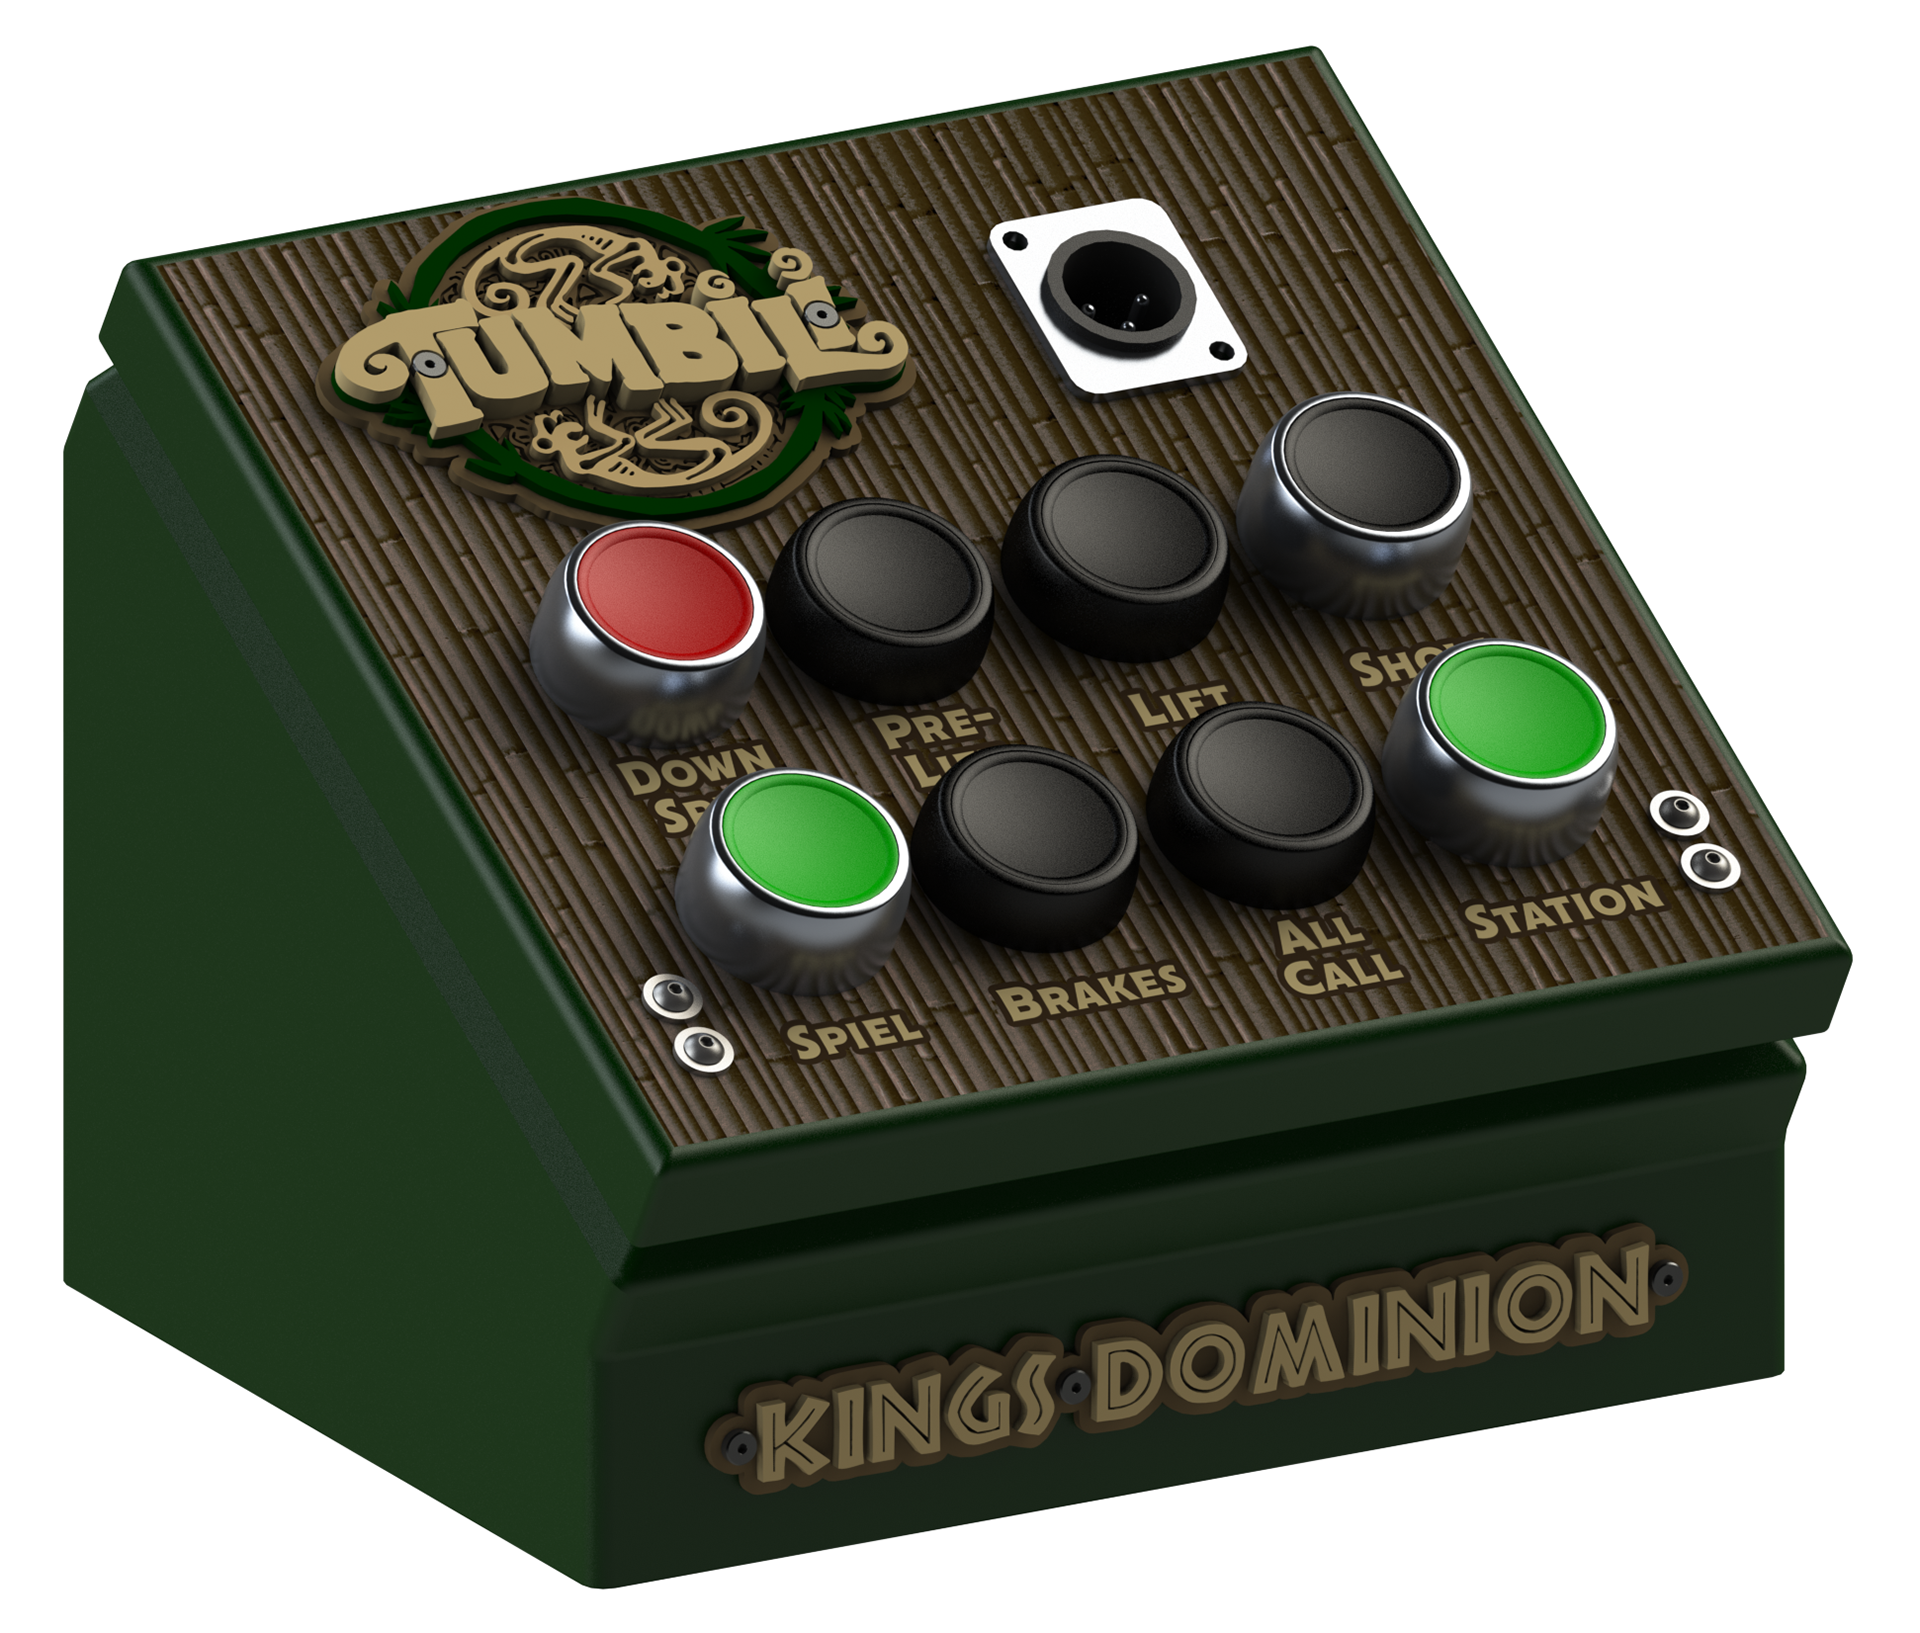
An early rendering of the enclosure, before the addition of the second XLR jack and with a slightly different color scheme.

My original iteration of the Tumbili logo model. In the final version, the base pieces have cuts to allow the lettering and monkeys to drop into place to improve precision of assembly. Detail of the engravings in the base was also simplified to more closely match the capability of my printer.
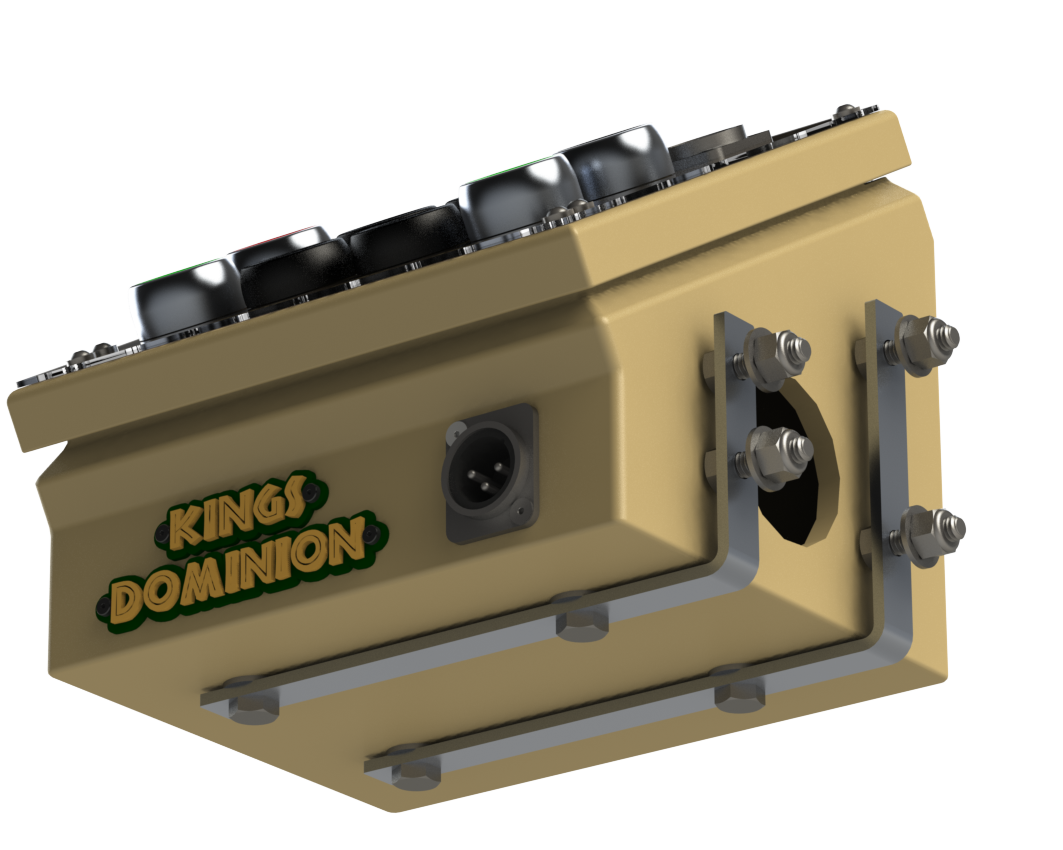
A potential mounting solution, designed to shift loading onto the bottom of the model rather than the side.
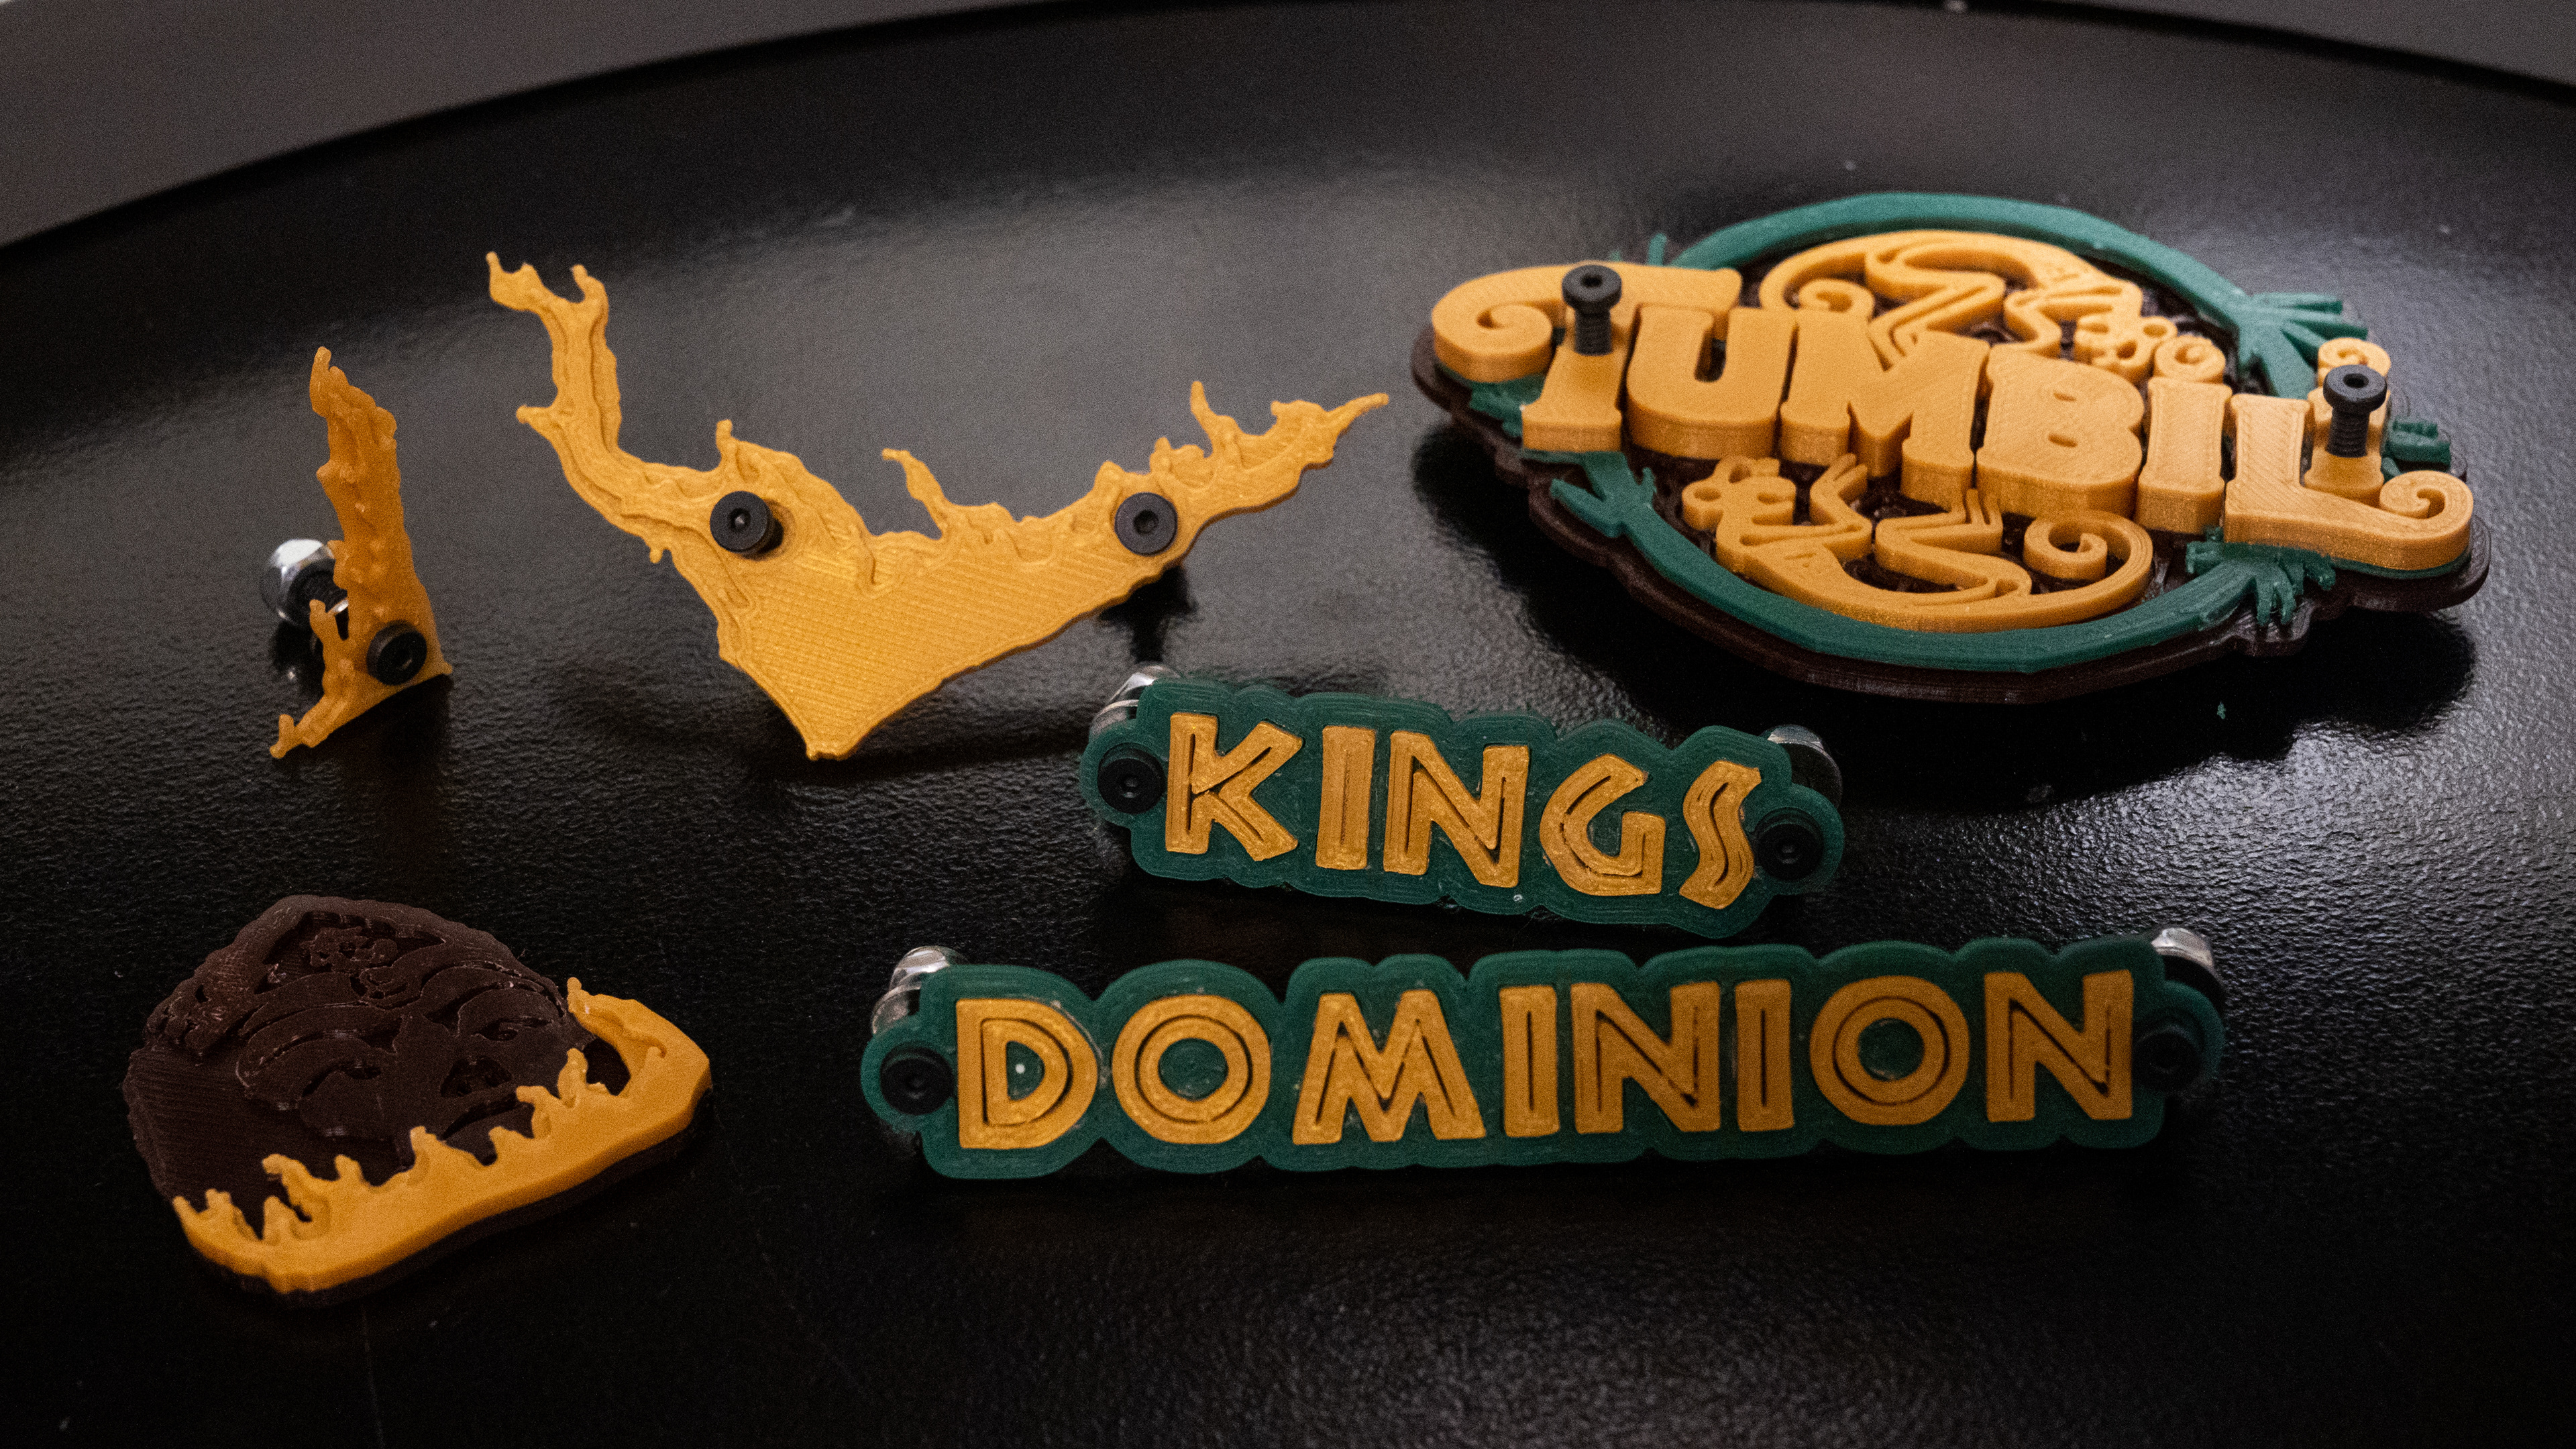
The various decorative pieces modeled and printed for the enclosure.
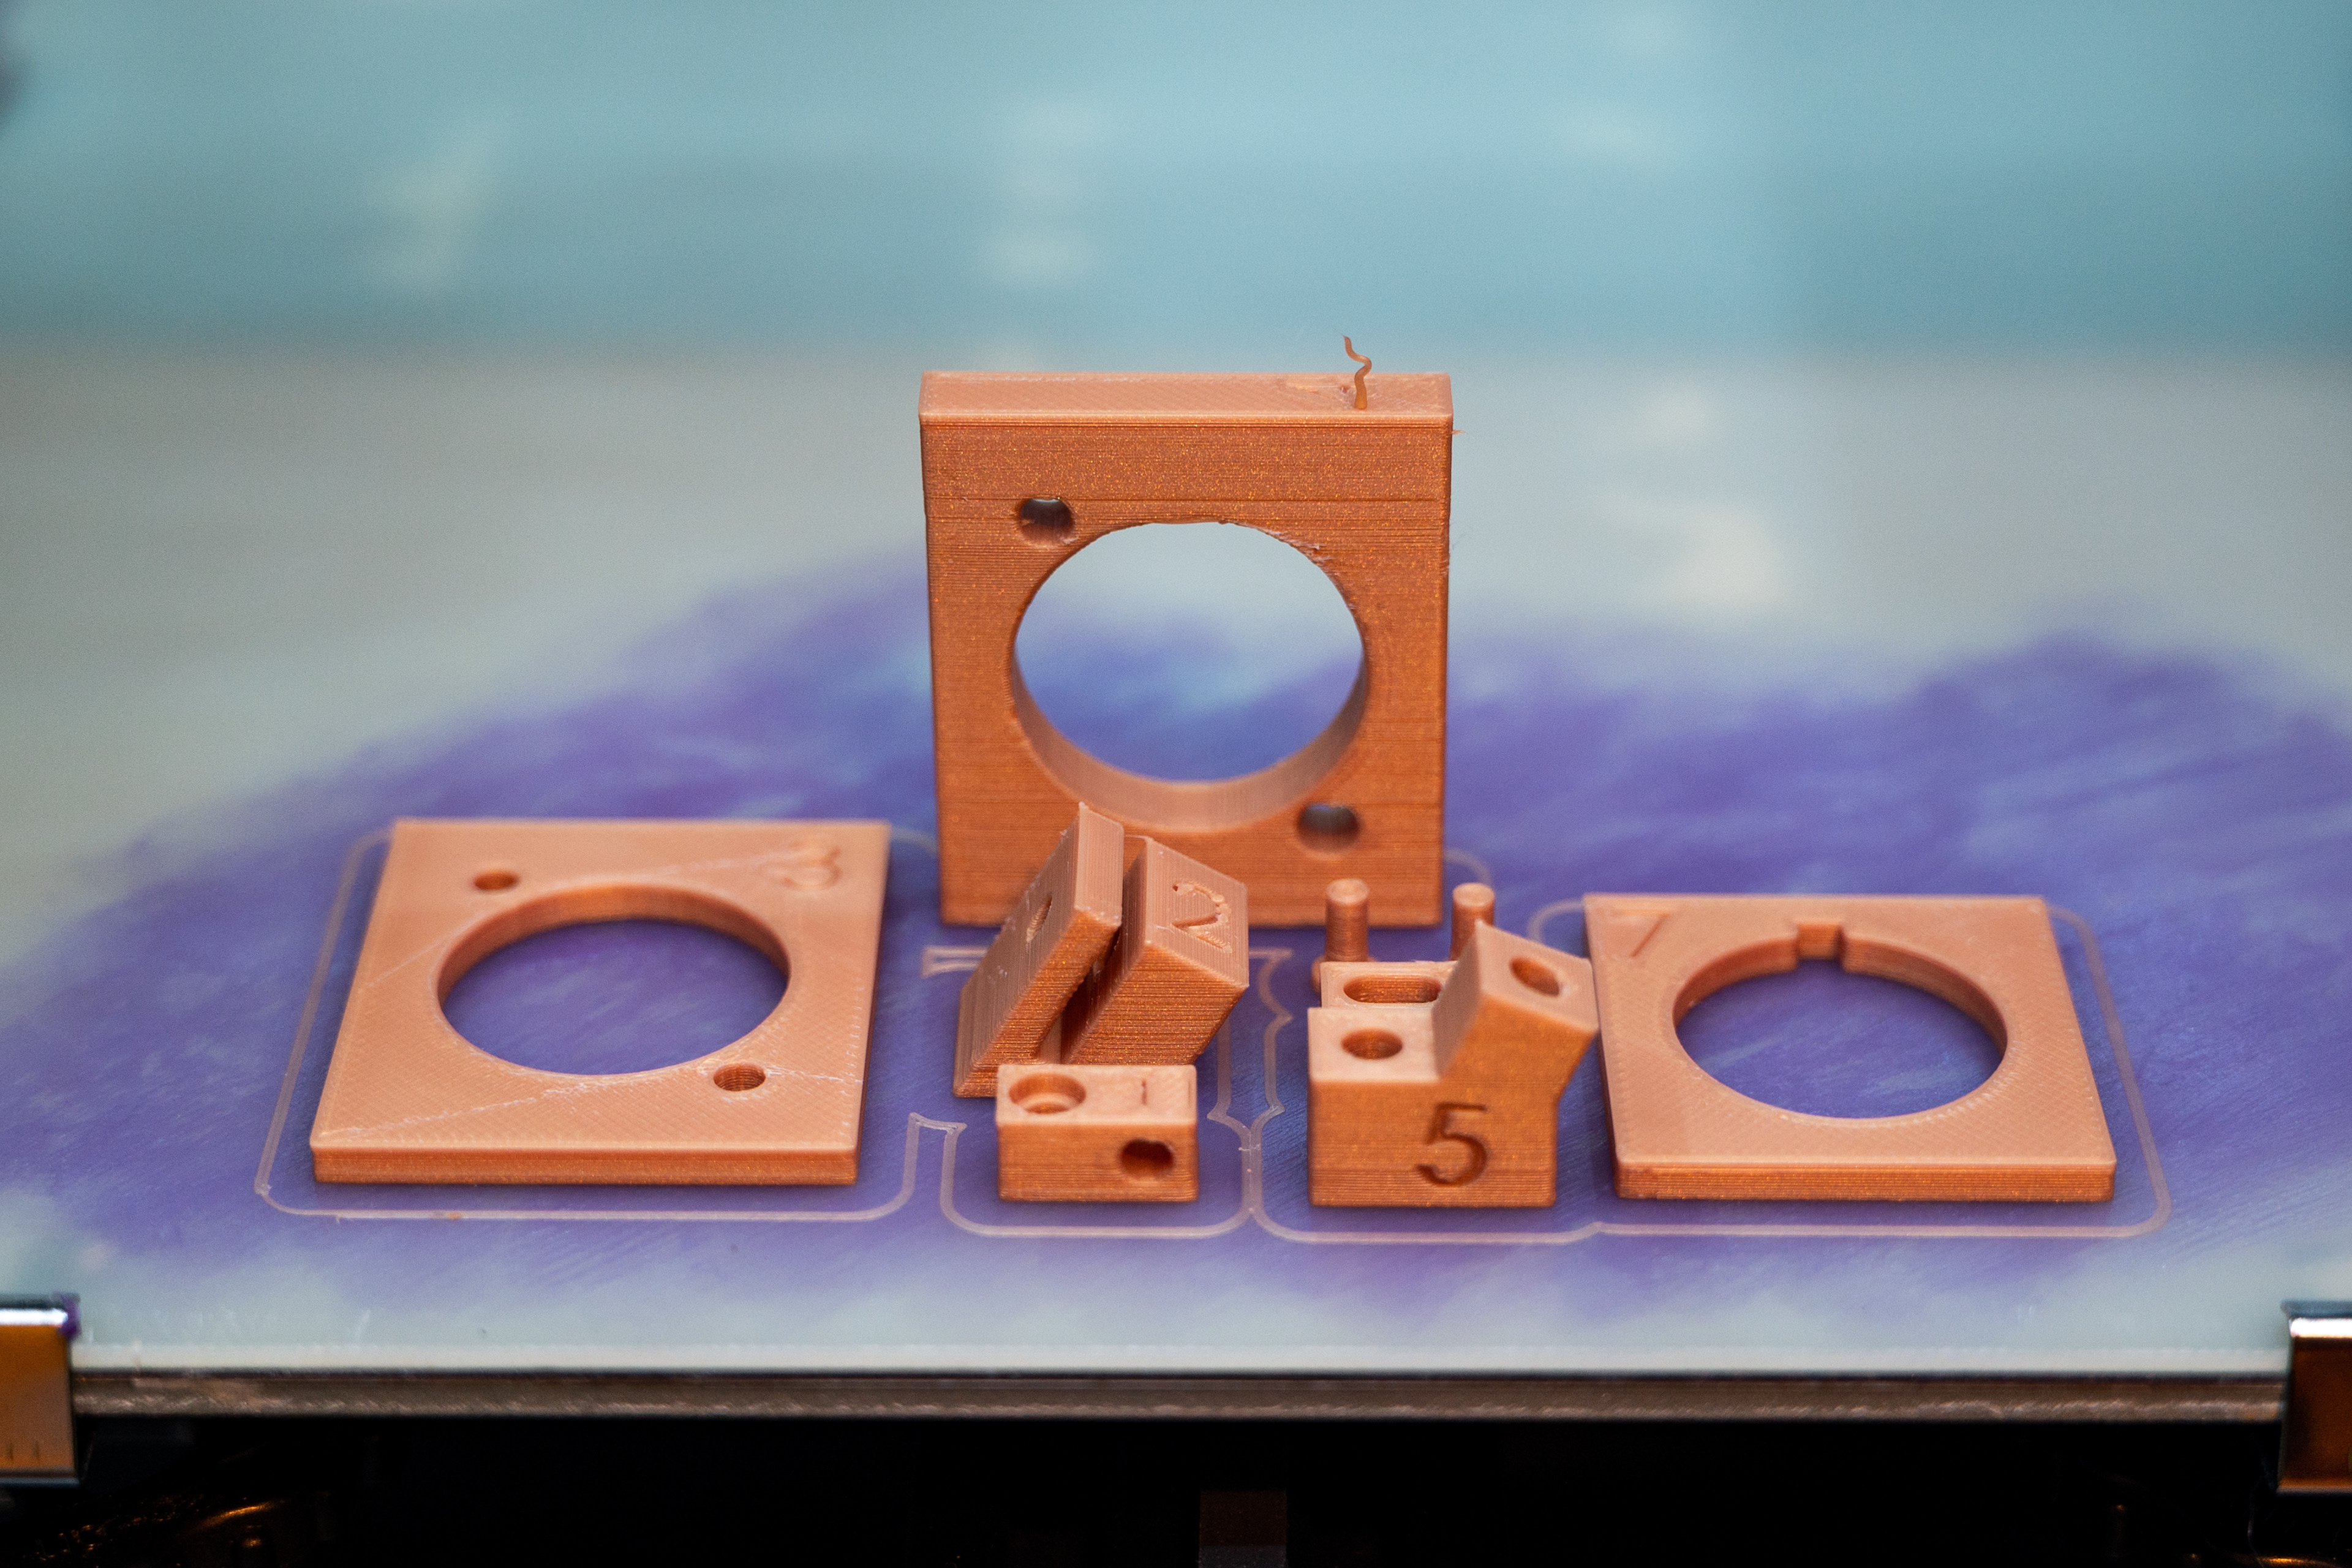
Test prints were made for each of the models' hardware interfaces, so that adjustments could be made to ensure a proper fit before committing to printing the full size enclosure.
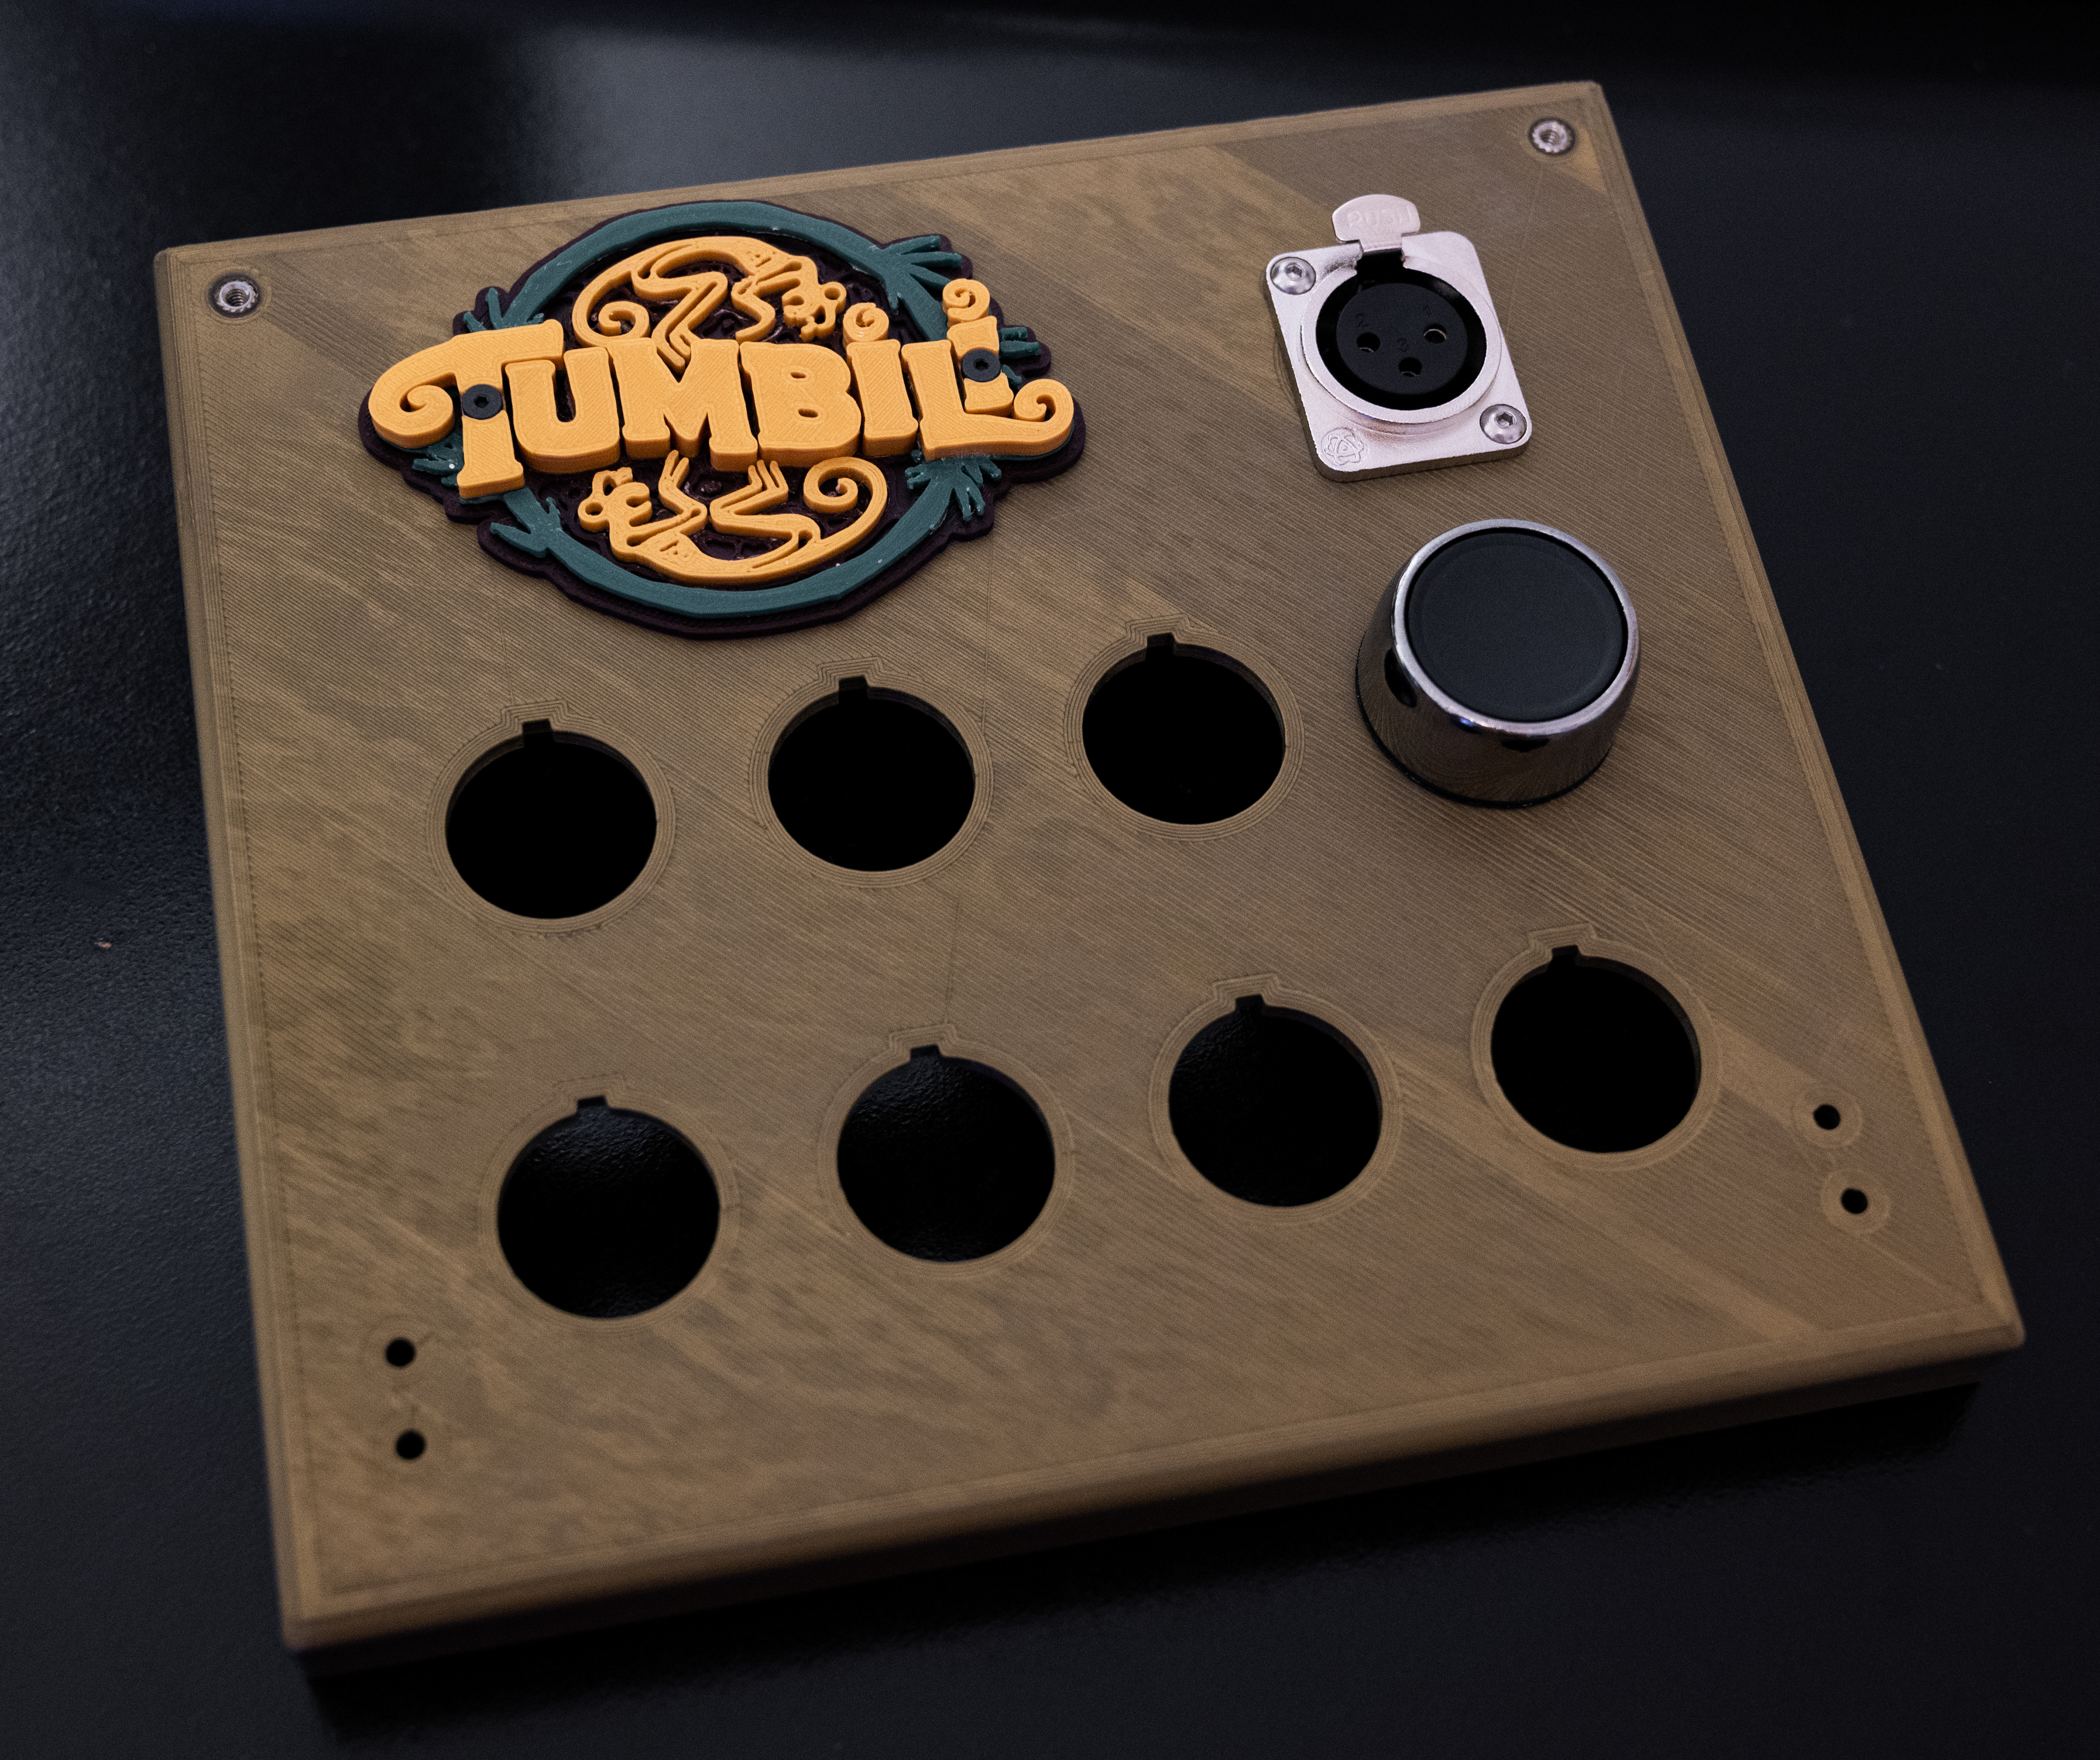
The full size panel plate with the Tumbili logo model, XLR jack, and a 22mm push button, before application of the vinyl sticker graphic.
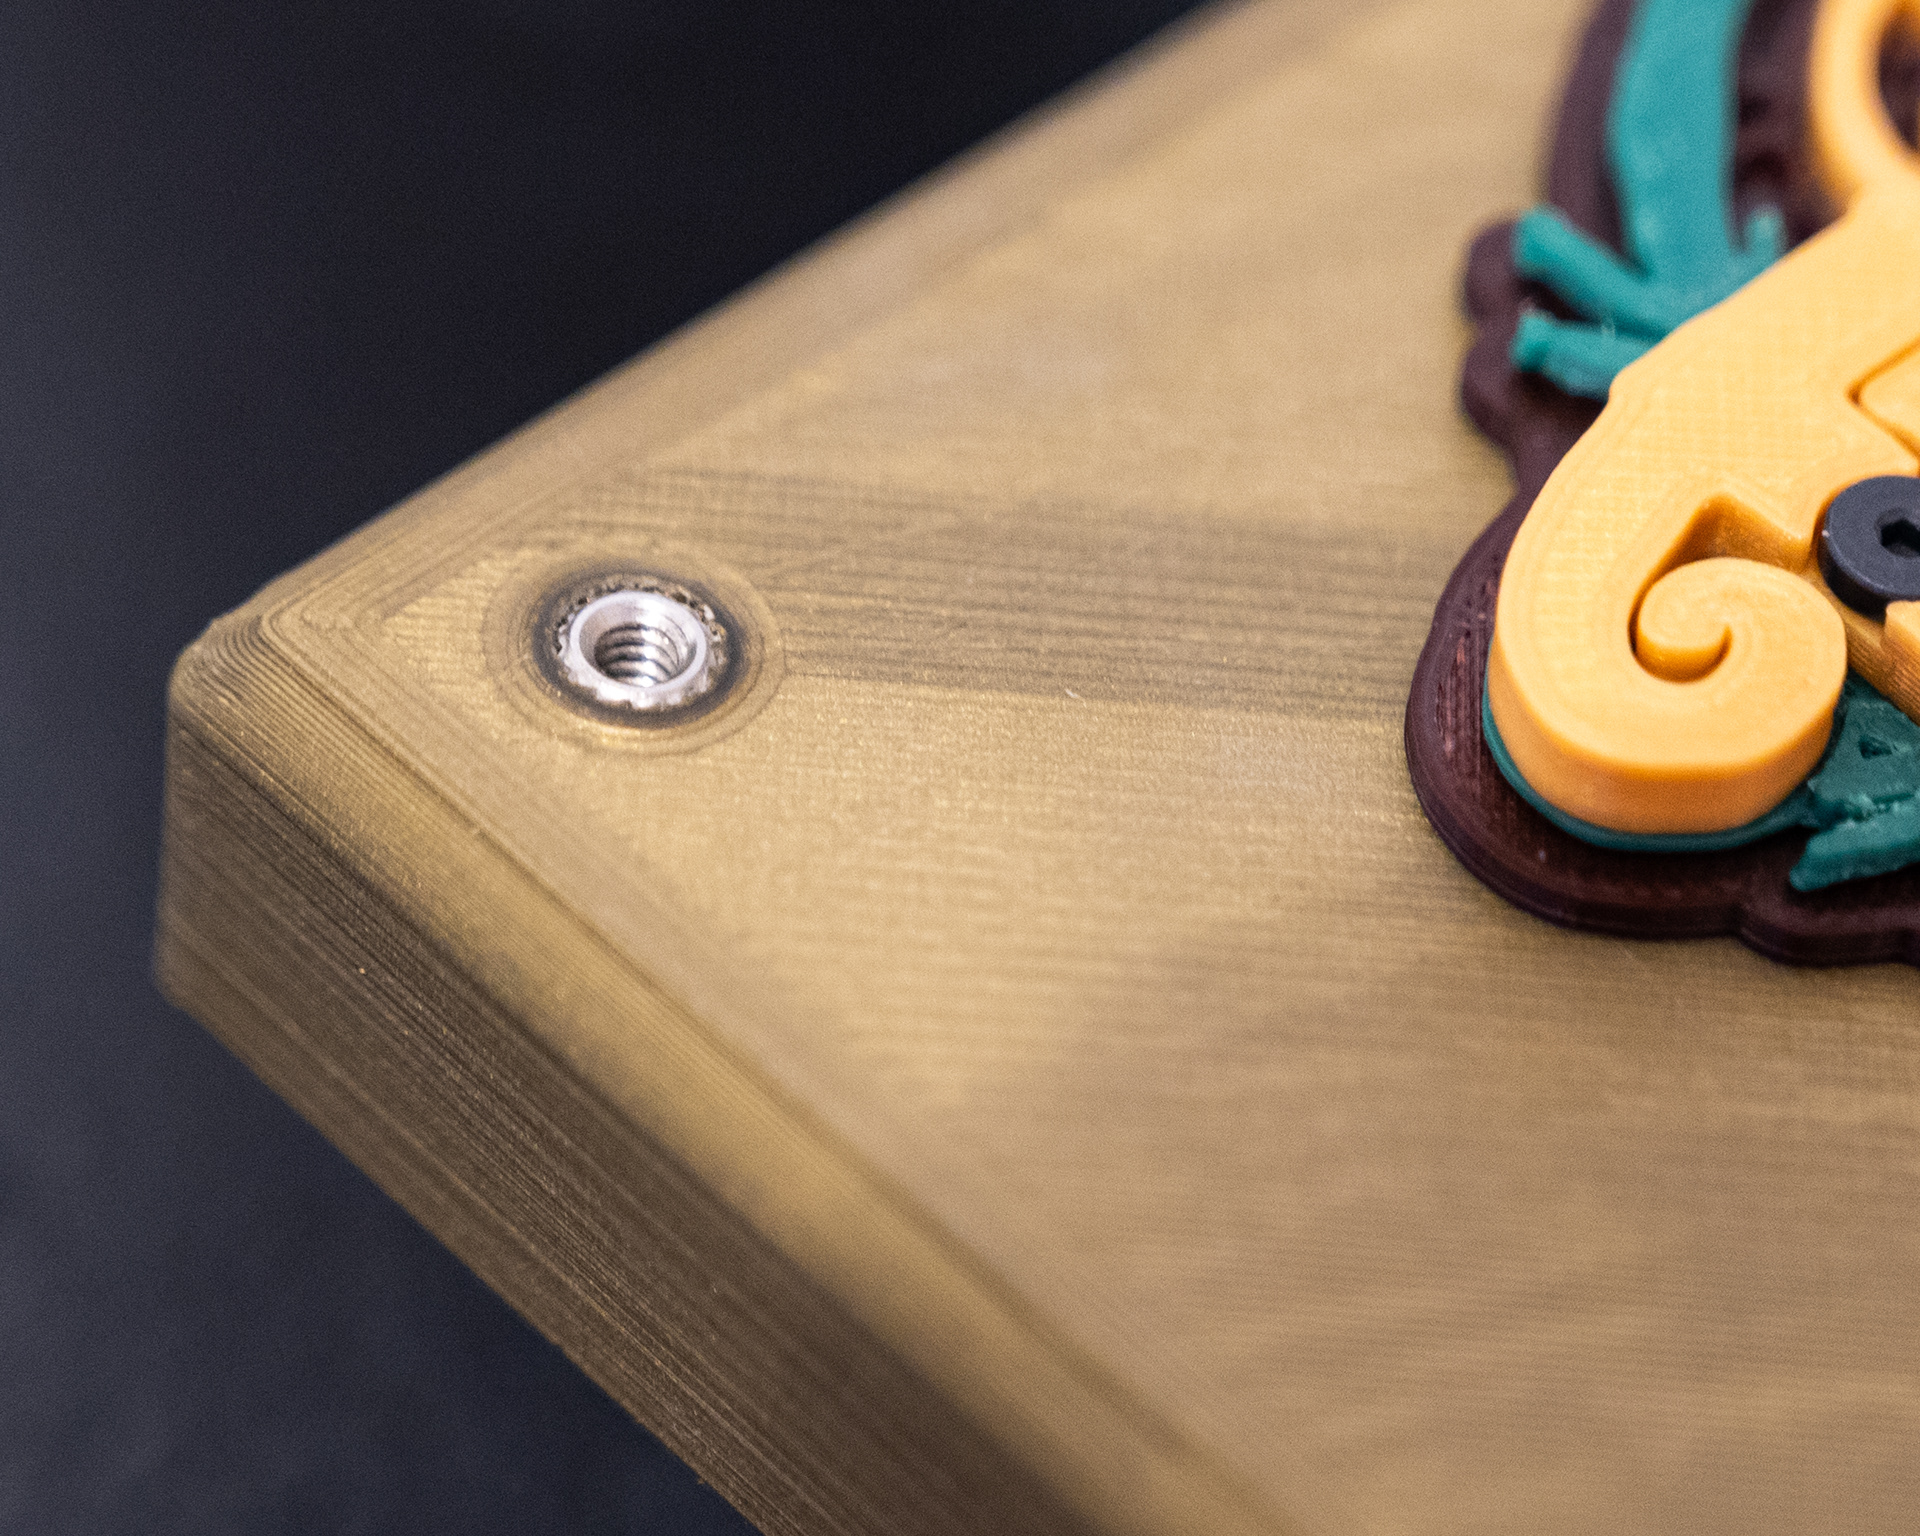
I hadn't used threaded heat set inserts before this project, but they were useful in places where it would be difficult to pass a bolt fully through the part.
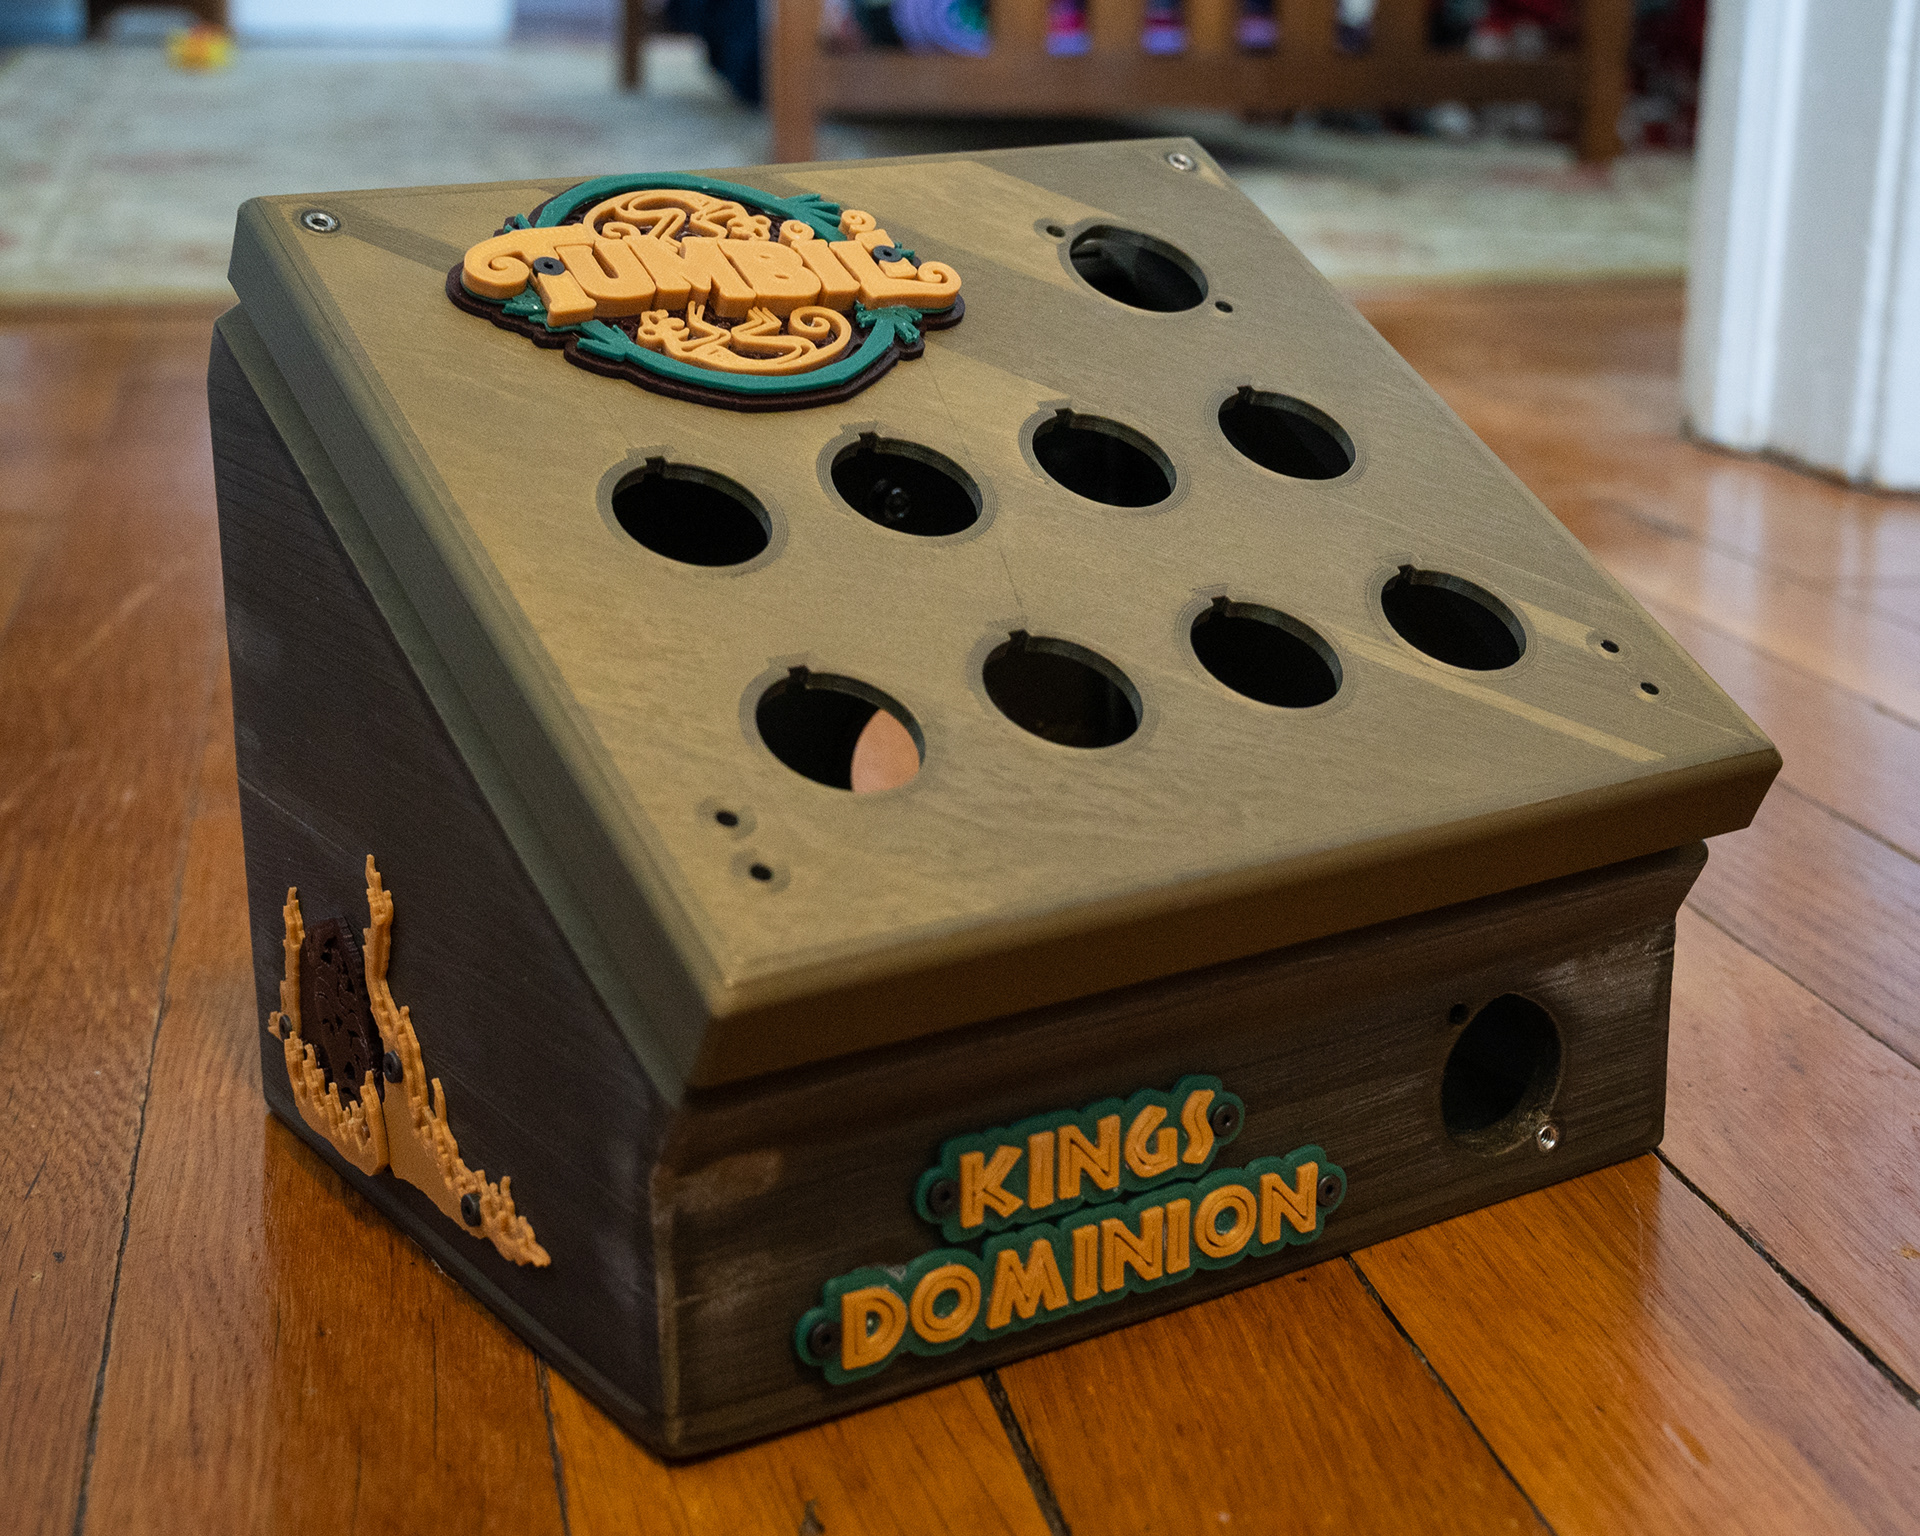
Quick assembly of all printed parts, after crack patching and sanding of the enclosure base.
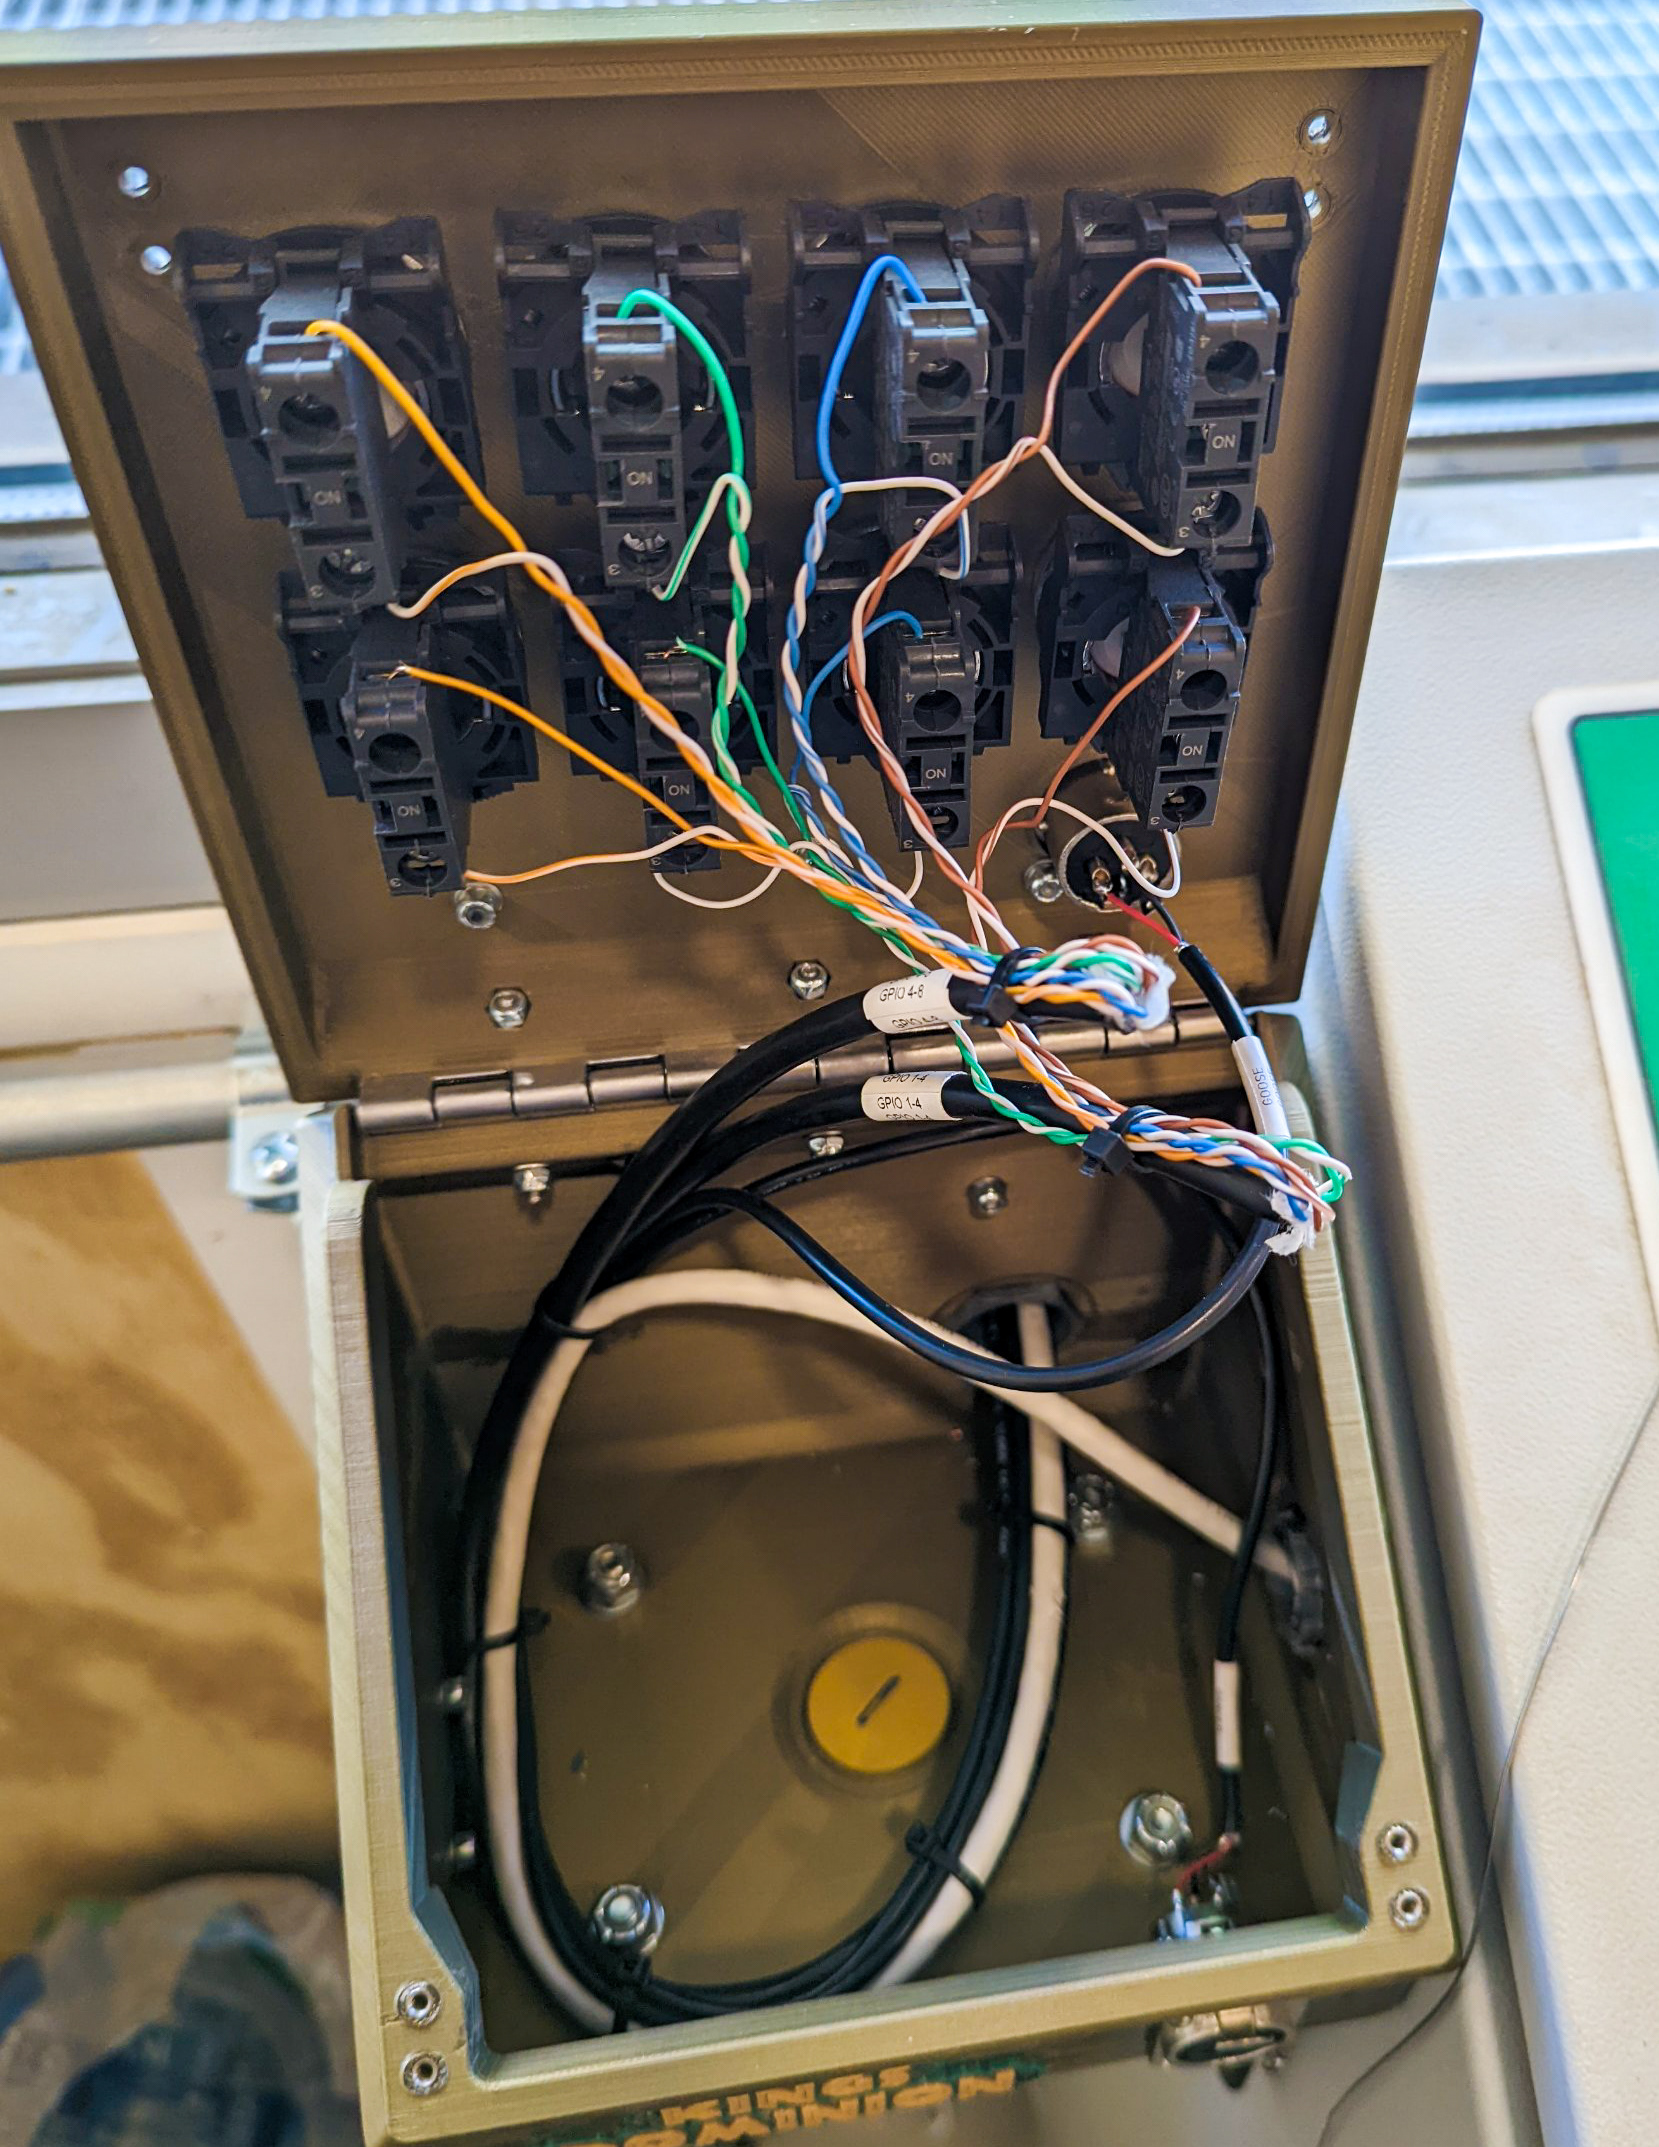
Completed electrical component assembly and wiring.
